I was groggy as I got up in the middle of the night, put on every layer of clothing I had, and drove for an hour. I was doing the sleepy march that many yearn to do in Maui – I was heading upwards to see the Haleakala Sunrise.
Table of Contents
Sunrise and Sunset in Two Different Climates
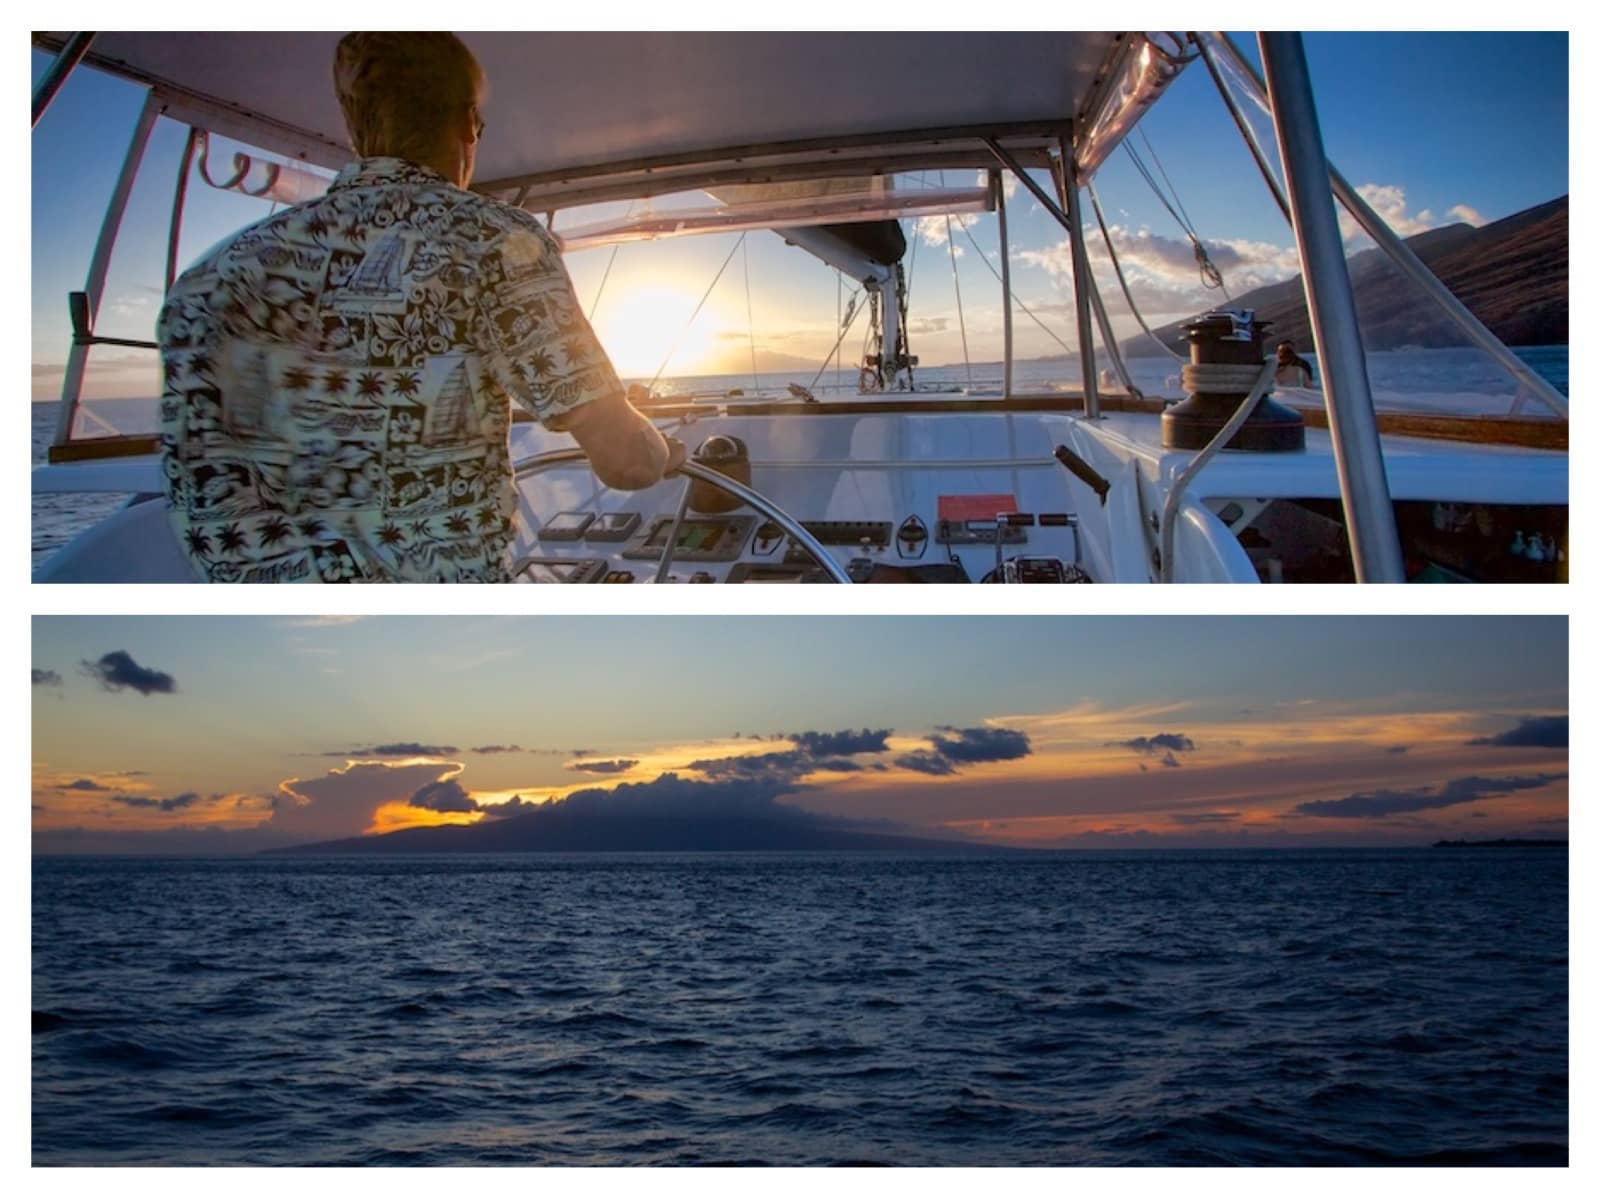
Rewind to the night prior – just a few hours ago actually – I watched the sun go down past the island of Lanai as I laid on the Ali’i Nui sailboat. The warm salty breezes tickled me as the skies turned pink and yellow and we slowly rocked across the Pacific.
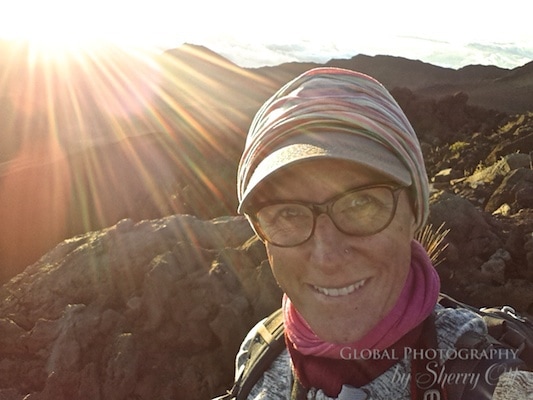
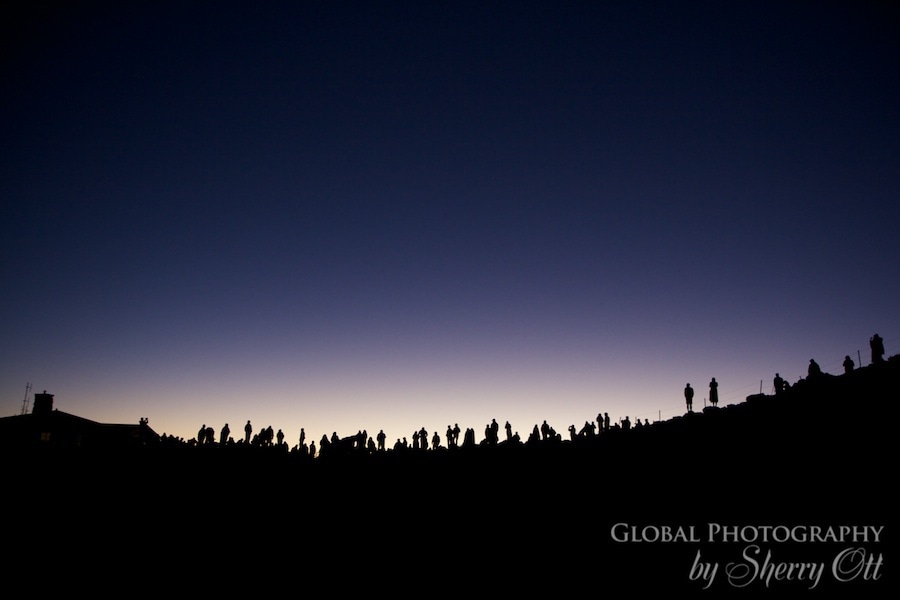
Now 10 hours later, I can see my breath as I push my way through a crowd of people to the railing to get that perfect sunrise picture at Haleakala.
The cold air made me shiver as I looked out over the sea of clouds. In my lack of sleep state if I squinted I could imagine that those clouds were the ocean. They appeared to be moving as if I was still on the sailboat Ali’i Nui again. I looked down at my feet just to confirm that I was standing firmly on the ground of Haleakala – Maui’s 10,000 foot shield volcano.
Dormant for years – it is the highest spot on Maui and the perfect spot to watch and photograph the sun rise.
Since this is one of the most popular things to do in Maui, I have a few tips to share before you actually get up in the middle of the night to go watch and photography the Haleakala sunrise.
Haleakala Crater Sunrise and Photography Tips
Get a Haleakala Sunrise Reservation and Parking Permit
When I went there – there was no reservation system. However after I barely found a parking spot and had to push through the crowd to even get a photo of the sunrise, the National Park System wisely put in place a reservation system.
To combat overtourism, in 2017 the National Park Service started the new reservation system and fee for sunrise viewing. If you want to get into the park for sunrise between the peak hours of 3 a.m. to 7 a.m., you’ll need to pay a reservation fee to receive a permit and a parking space. Before you are upset that this may ruin your Maui Budget – it’s only $1, but the reservations are limited each day.
You can get your Haleakala Sunrise Reservation here. Do this plenty of days in advance as it’s a popular activity.
This is different than (and in addition to) the regular National Park Entry fee. All park visitors are required to pay an entrance fee or present a valid park pass upon entering Haleakalā National Park. The entrance fee allows visitors to explore the trails, overlooks, and visitor centers for 3 days.
Get Away from the Crowd at the Railing
Even though there’s a reservation system now, everyone is trying to still get a prime viewing spot or photography spot. Get there early to get a spot to set up for your sunrise photography. I recommend hiking up the short little trail to higher ground (to the right of the visitor center) and getting away from the mass of people at the railing.


Stay Nearby to Reduce the Drive Time
If you are doing this independently and not on an organized tour, be sure to stay somewhere nearby (this will help you achieve tip #1). I stayed at the condos at Mama’s Fish House near Paia – a great location for getting up the mountain early.
Stop For Coffee on the Way to Haleakala
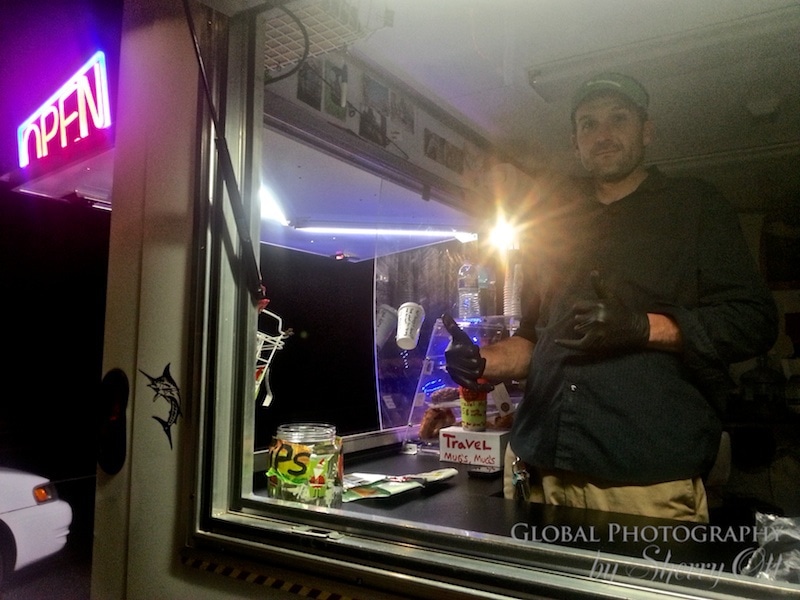
Get coffee on the way up…it’s a necessity at that time of morning. Mike at Crater Coffee stand will great you with a big smile and cup of Joe. They serve up quick and convenient Maui blend coffee and locally baked goods to-go. You can’t miss Crater Coffee – he’s the only thing open at 3:30AM. Open 3am-7am for Haleakala Sunrise. His coffee cart is on the right in front of Kula Lodge & Marketplace.
Be Prepared for a Foggy Camera Lens
Odds are when you get out of your warm car and step out into the cold Haleakala air – you’re lenses are going to need time to adjust to the climate change (which is another good reason to get there early). Bring a soft lens cloth to wipe off the foggy camera lens. A soft wipe is good for trying to speed up the process.
Bring a Tripod
Bring a tripod for that super sharp shot. However know that it’s possible to get the shot without one. I brought mine but didn’t use it. There was enough light for a clear shot when you are shooting into the sun.
Here’s the travel tripod I normally use.
Familiarize Yourself With How to Compose Great Vacation Photos
This is a one time chance to catch a great Haleakala Sunrise photo on your vacation to Maui – so make sure you get a great shot. If you do nothing else, please remember the rule of thirds – don’t put the sun or people in the middle of your shot!
For quick tips on How to Take Great Vacation Photos – check out my tips.
Bring Your Telephoto Lens
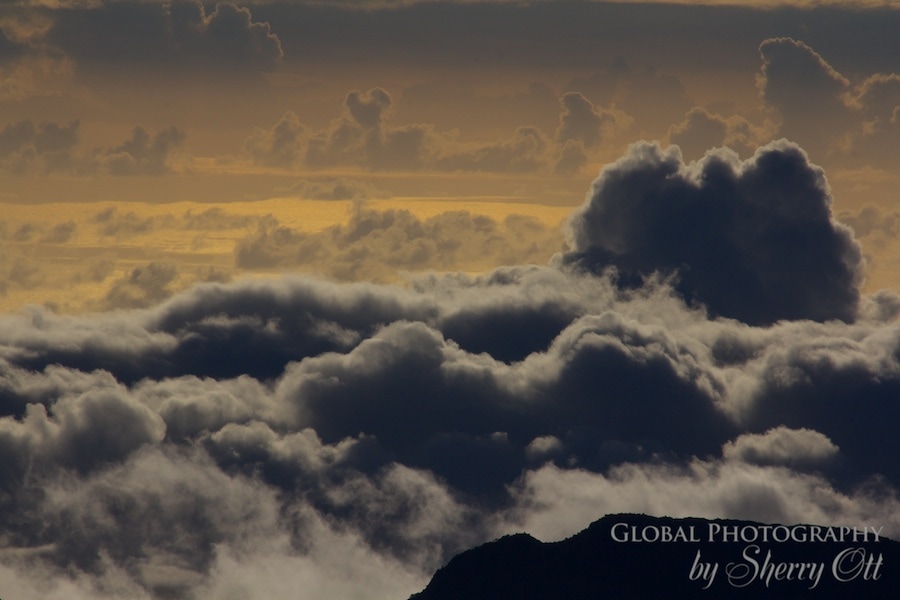
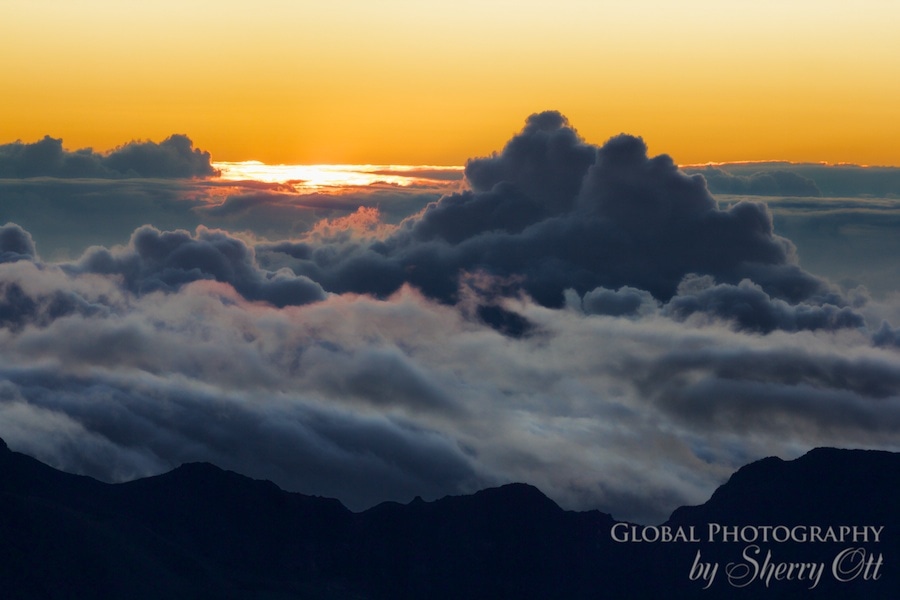
Bring your telephoto lens; one that can reach a minimum of 200 or 300mm. This may seem weird because you are probably thinking the best lens to have is a wide angel lens. I say take both! I did most of my most dramatic shooting with my 300 mm lens – you will get amazing shots of the cloud details and the light bouncing off the clouds.
Start Taking Photos Before The Sun Comes Up
Shoot before the sun comes up – get the whole progression. Just remember to always be adjusting your settings – ISO and metering is changing constantly as the lighting is changing every minute.
Turn Around and Look Behind You
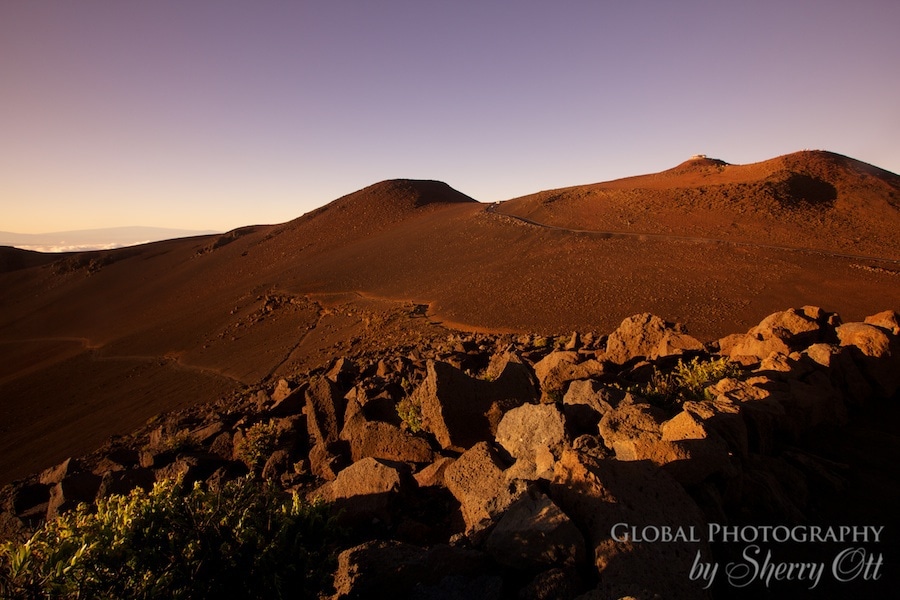
Turn around. Yes – turn around and get the softly lit landscape behind you – we often forget what’s around us when we are mesmerized by the sunrise. That sunrise low light will be lighting up the mountains behind you in beautiful orange and yellow.
Stay After Sunrise
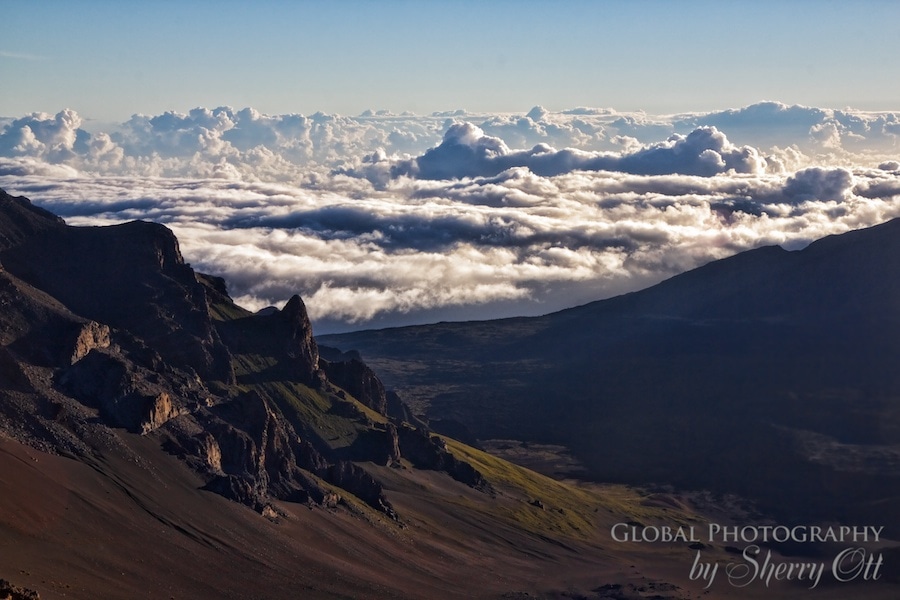
Stay after the sunrise. The sun continues to rise and light up the crater floor – it’s worth it to stay and get these shots with amazing lighting. This is the time to use your wide angle lens!
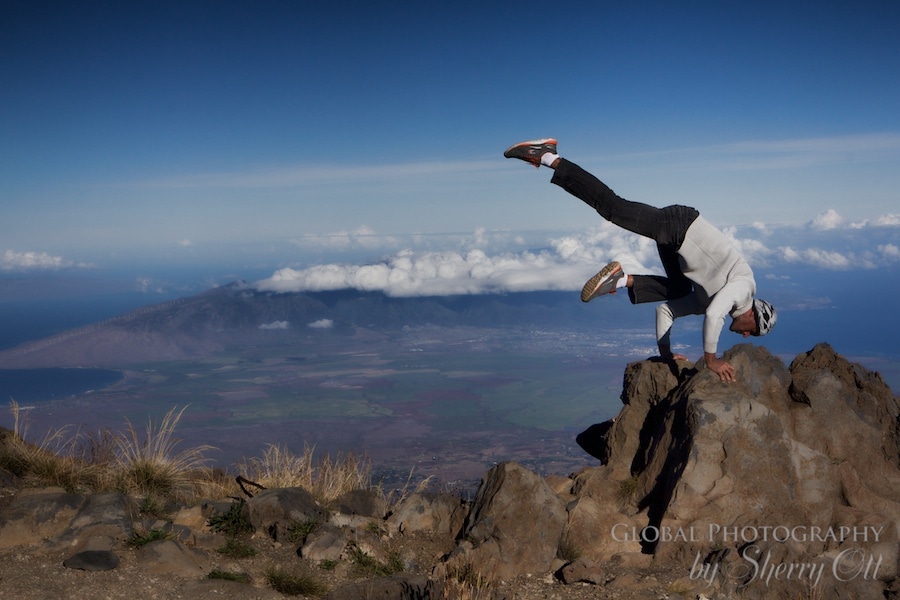
Plus – all of the crowds leave and you can really soak in the environment. I even got a bonus by staying late – I came across a Brazilian guy who was testing his balance and strength doing some amazing poses among this stunning backdrop. Bonus – he was really good looking too – it’s always good to stay late!
Use Photograpy Filters
I used my polarizing filter as well as my graduated neutral density filter so that hopefully I would have to do less post processing after the fact. When shooting into the sun the light is harsh so the filters really help to soften it and assist with the metering.
Put the Camera Down
Finally – make sure that you take a few moments away from the viewfinder and just enjoy nature’s beauty. There’s nothing like seeing the sun pop out of the clouds – it looks like a big ball of fire and makes you appreciate the way our planet and world functions. It truly is miraculous.
See all of my Haleakala sunrise photography
Haleakala Sunrise Tour
I actually did this by myself and didn’t go on a tour, however there are lots of options for sunrise tours that even include pickups and breakfast! Here are a few options if you want to do a Haleakala Tour
Disclosure:
Disclosure: I was a guest of Maui Visitor Bureau for this trip. However all of the opinions expressed here are my own. I was able to choose my own activities that were of interest to me and my style of travel.






By Daijie Huang November 21, 2013 - 3:00 pm
What amazing photos Sherry, I especially love those shots of the clouds, and woah…the man in the last shot is pretty brave. Looks like he could fall off that (what seems to be) cliff at any moment. Would love to connect with you on triberr, sent you in invite, hope you join me and I can’t wait to see what you come up with next! Thanks, Daijie 🙂
By Mary @ Green Global Travel November 25, 2013 - 9:24 pm
Thesee are absolutely amazing images and I couldn’t help thinking of the rule of the thirds as I wandered from stunning photo to stunning photo! Very inspiring! Thank you for the great tips and advice!
By Stephanie - The Travel Chica November 28, 2013 - 12:15 pm
God bless anyone who provides coffee to travelers at 330am.
By Joanne Joseph December 7, 2013 - 7:56 pm
I’m so glad I was introduced to your blog through your guest post on what traveling means to you. Your photography is beautiful and I appreciate your tips.
By Sherry December 8, 2013 - 2:39 pm
Joanne – so happy you found me! Thanks for checking out my site and travels! Let me know if I can ever be of any help in your travel planning/questions!
By Dan December 14, 2013 - 12:37 pm
Stunning photos! Great tips, its always easy to forget that the rest of the world is rising with the sun when your concentrating so hard on the sun itself.
By Tim Lara February 16, 2014 - 5:19 am
Awesome shots! Sunrise is really an amazing sight over Haleakala. And thank you for sharing your photography tips.
By Stacey Meanwell November 3, 2015 - 1:55 am
Thank you for this wonderful post, Sherry! I never would have thought of bringing my long lens. I thought for sure this was just a wide angle event. You saved me!
Aloha,
Stacey Meanwell
MeanwellPhotographics.com
By Sherry November 4, 2015 - 8:55 am
Super – happy I could help! How did the photos turn out?!
By Ed greemberg January 27, 2019 - 9:36 am
Any recommendations on shutter speed and alpertutr for best shot. Also don’t have md filters but do have polarizer. Should it be kept on al the the time.
By Sherry January 27, 2019 - 6:05 pm
In general for sunrise/sunset – I normally put the aperture around 8 or higher – if you want really crisp or a star-like image of the sun – you want to go as high of aperture as you can. However – that means you will be pushing your shutter speed. So a nice happy medium is 8 to 11 aperture – I normally shoot aperture priority – so then I let it set the shutter based on the light – but if the shutter is too slow you’ll get a blurry pic – so keep an eye on the shutter not going below 1/60. In this sunrise situation your light is always changing and getting much much brighter as the sun rises – so you’ll have to really pay attention to the settings and adjust to compensate for the light change.