“That’s a beautiful photo, what camera do you use?” is probably one of the most frequent questions I hear. Of course it’s an innocent question meant with good intentions, however it does make the hairs on the back of my neck stand up as I try not to roll my eyes, and instead paste on a smile, and answer them nicely about my travel photography gear I use.
One of the main things on everyone’s packing list is a camera. It doesn’t matter if it’s a phone camera, a point-and-shoot, or a DSLR with interchangeable lenses.
What makes a great photo memory of a holiday is how you take the picture, not what you take the picture with.
Advanced technology and post processing/editing is great, but if you don’t have the foundations of what makes up a good picture, then all the technology in the world can’t help it.
Table of Contents
What Makes a Travel Photo Beautiful?
Equipment has very, very little to do with why a travel photograph is beautiful. Good vacation pictures start at being able to simply compose a shot.

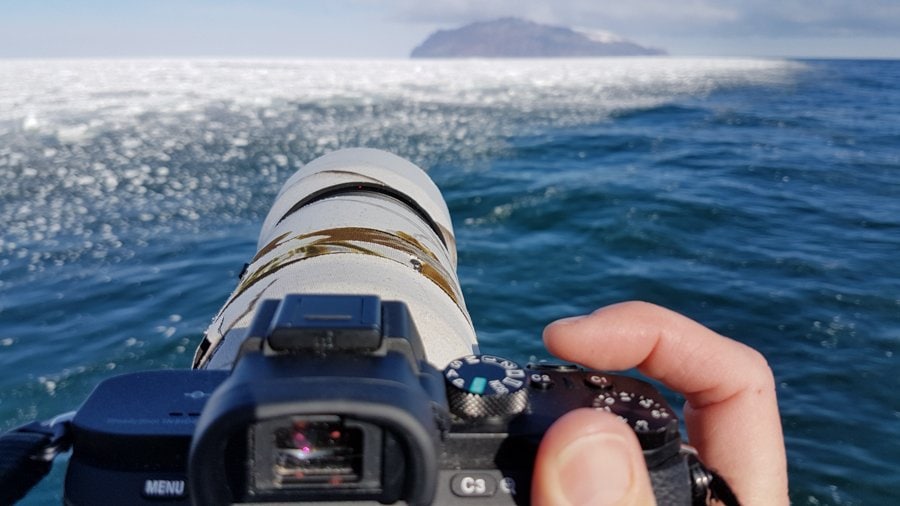
What Photography Gear do I Carry on a Trip?
See my complete list of favorite travel photography gear Best Camera Bags for Travel Safari Photography Gear and Tips
What is Photo Composition?
Composition refers to the process of deciding exactly what you are taking a picture of. Sure, you want to get that picture of Billy and Susie in front of the Eiffel Tower, but if you want a good picture of Billy and Susie then you want to think about composition before you click the shutter button.
Consider what you see through the viewfinder or on your phone screen at the moment before you click the shutter button as your canvas – and just like a painter, you decide what is going to go on the canvas and where it is placed. You can control this by moving your body around to various viewpoints, moving closer, moving away, lying down, standing on something, or turning in circles if you want!
11 Tips to Taking Better Vacation Pictures
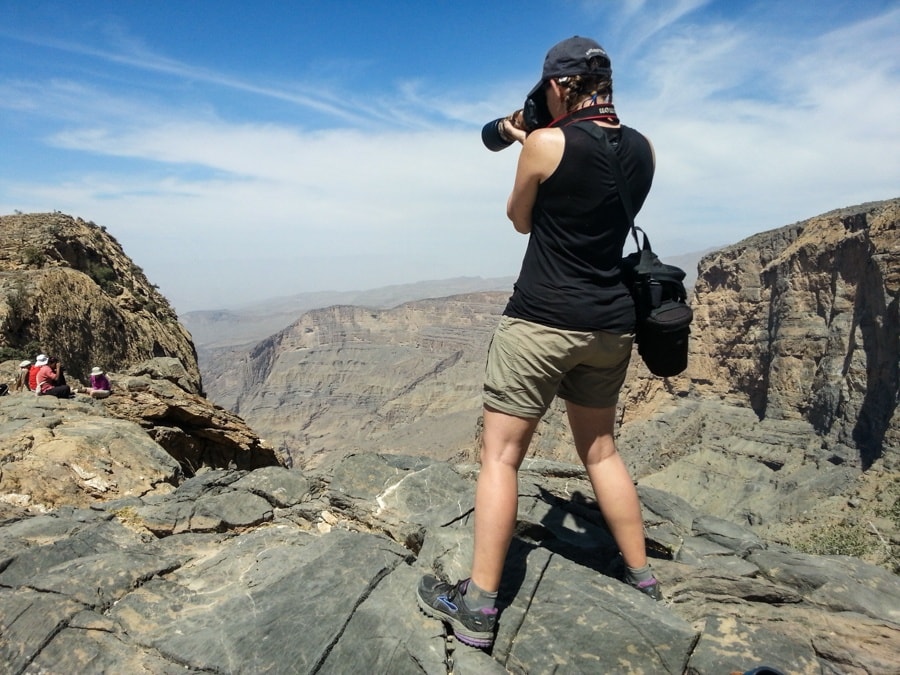
I’ve taken thousands and thousands of travel photos. I’ve carried my favorite cameras and lenses to heights of 18,000 ft. It’s been with me every step of the way to over 65 countries for over 14 years of traveling. At this point I’m qualified to give out a travel photography advice!
I do a lot of candid street photography as well as landscape photography. Both have its challenges when you are on the road and at the mercy of Mother Nature, geography, and human nature. I’m sure that as a traveler, you want to capture what you’re seeing and experiencing, so here are a few tips to get the exceptional pictures you want on your next vacation.
1. Know What or Who Your Subject of the Photo is
When you shoot a photo you should be thinking about what your goal is…what is it that you are trying to show people – what is the subject – and how can you bring focus to it for the viewer?
Granted, this may seem silly to think about this every time you take a photo, but soon it becomes second nature. Is Billy and Susie your subject, or is the Eiffel Tower your subject?
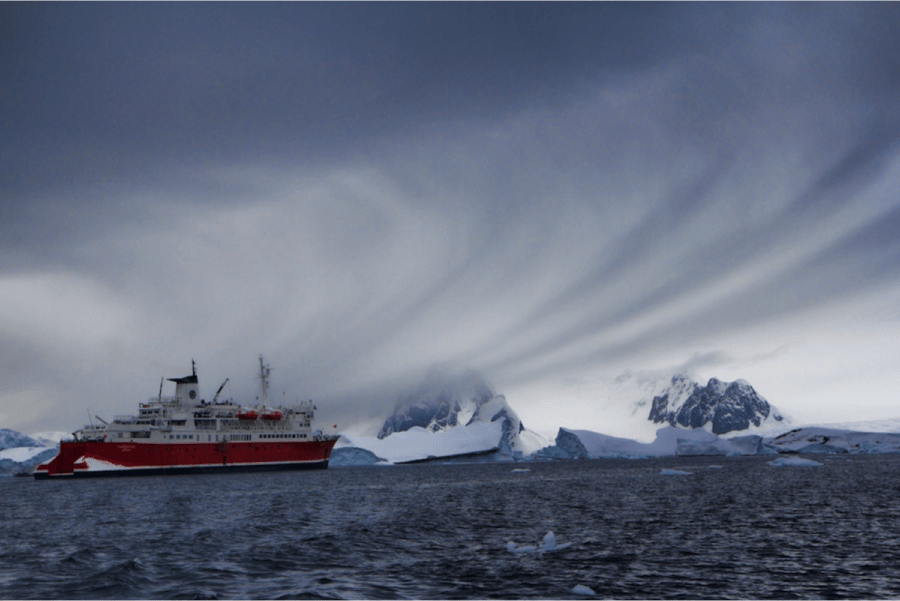
2. Do Not Center Your Subject in the Picture
Now you know who your subject is, don’t put your subject in the center of the picture! This is the most important tip I try to tell every person taking a picture! It is the simplest thing you can do to change a picture from ok to great.
The concept in art terms is called Rule of Thirds:
“An image should be imagined as divided into nine equal parts by two equally-spaced horizontal lines and two equally-spaced vertical lines, and that important composition elements should be placed along these lines or their intersections. It is believed that by aligning a subject with these points creates more tension, energy and interest in the composition than simply centering the subject would.”
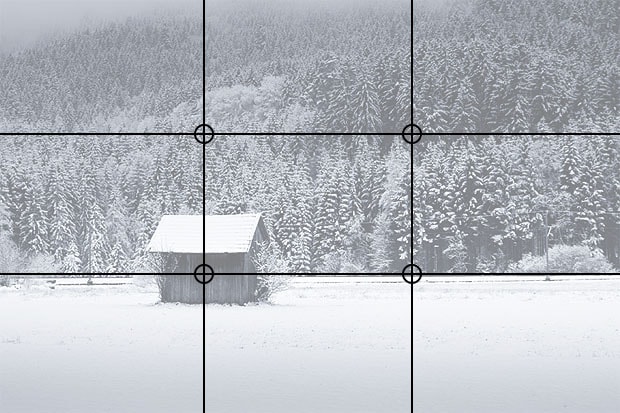
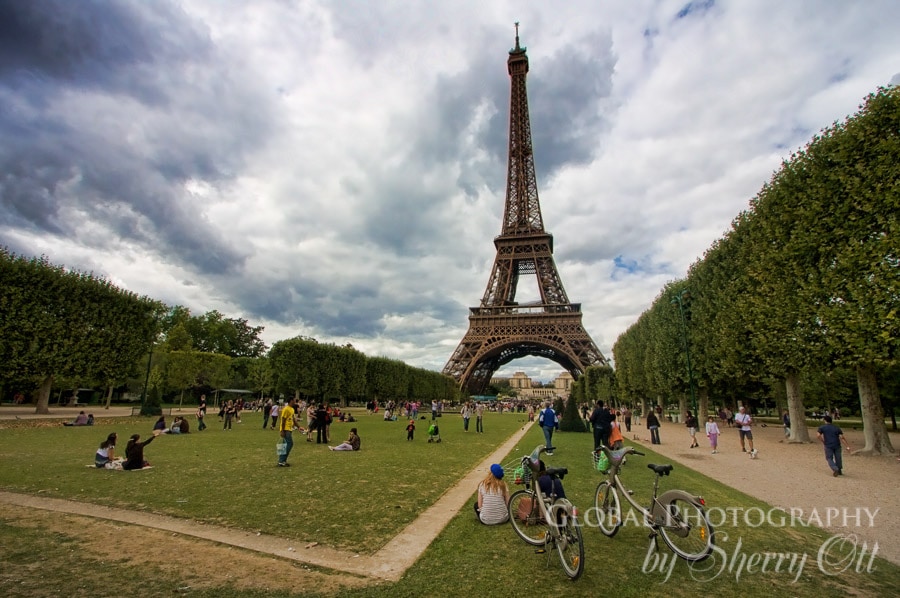
This basically means that instead of placing Billy and Susie, or the Eiffel Tower in the center of the photo, you place is in one of the thirds of the photo. Our brain comprehends this as more pleasing.
If this is the only thing that you pick up from this whole article – I consider it a success – it’s just that important!
Examples of the Rule of Thirds in Vacation Photos
You can see the difference for yourself.
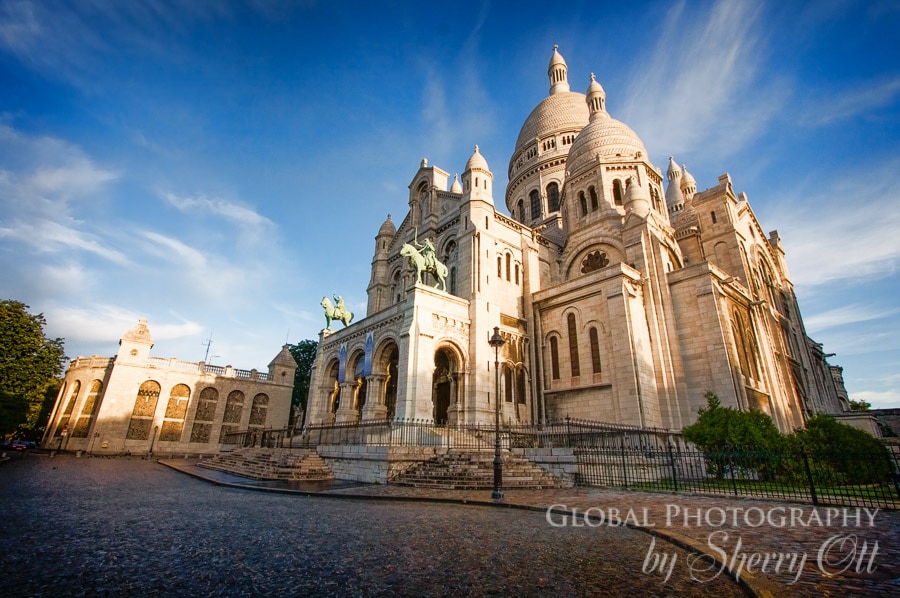
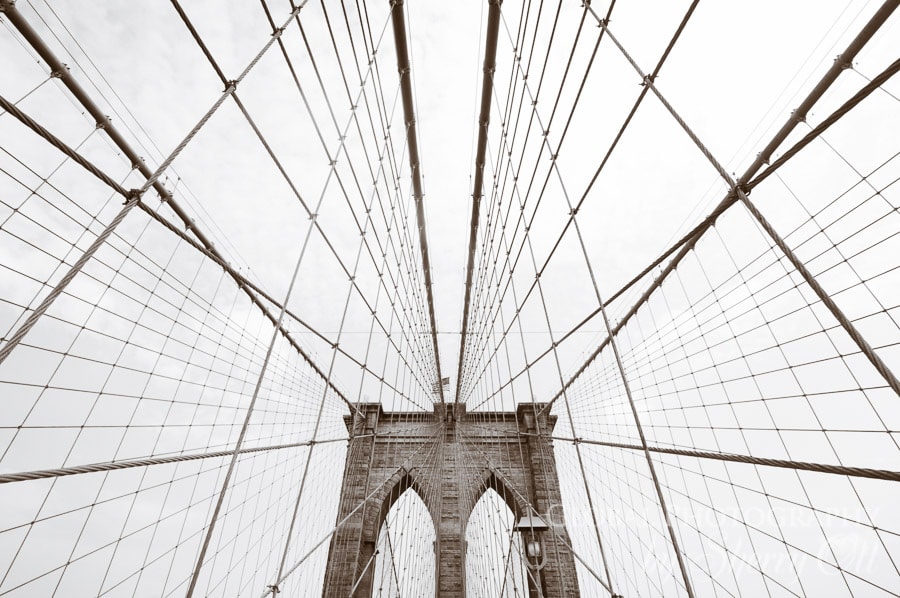
There is one exception to the Rule of Thirds, and that’s when you are composing a shot to be purposefully be symmetrical. A shot where everything is exactly symmetrical in the frame can also have a powerful effect. It adds stability to photographs and can give your compositions a sense of calm, peace, and “rightness.”
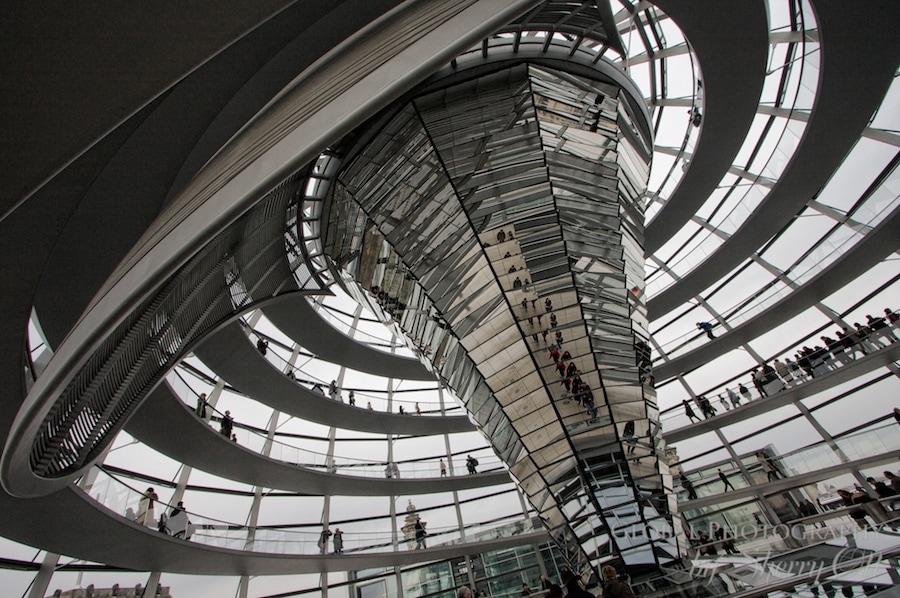
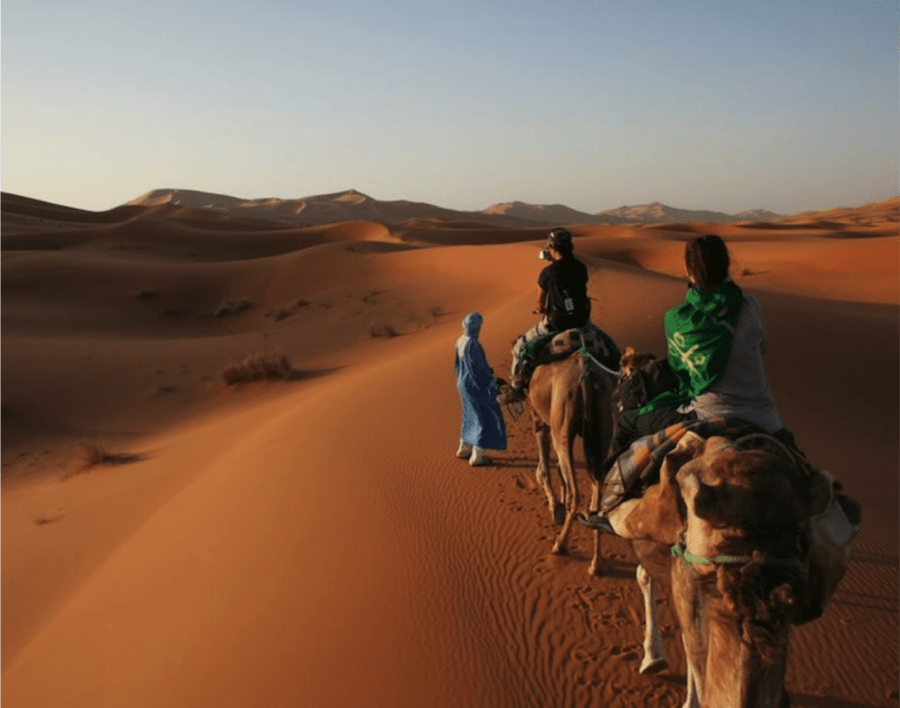
3. Place the Lines and Curves to Direct the Eye to the Subject
The 2nd easiest thing to improve vacation photography is ensuring composition for ‘leading lines’. Once again, this is all about how to showcase the subject of the picture. Maybe your subject is a person, a building, a boat, or a mountain. Your subject can be anything, but remember tip #1 – you have to know what your subject is before you shoot!
Lines are used to direct the viewers attention to the subject of your photograph. When you first glimpse at a photo, our brain automatically starts to decipher the picture trying to figure out what the picture is of. Without us being aware of it, our brain looks for lines that lead us to the subject of the picture.
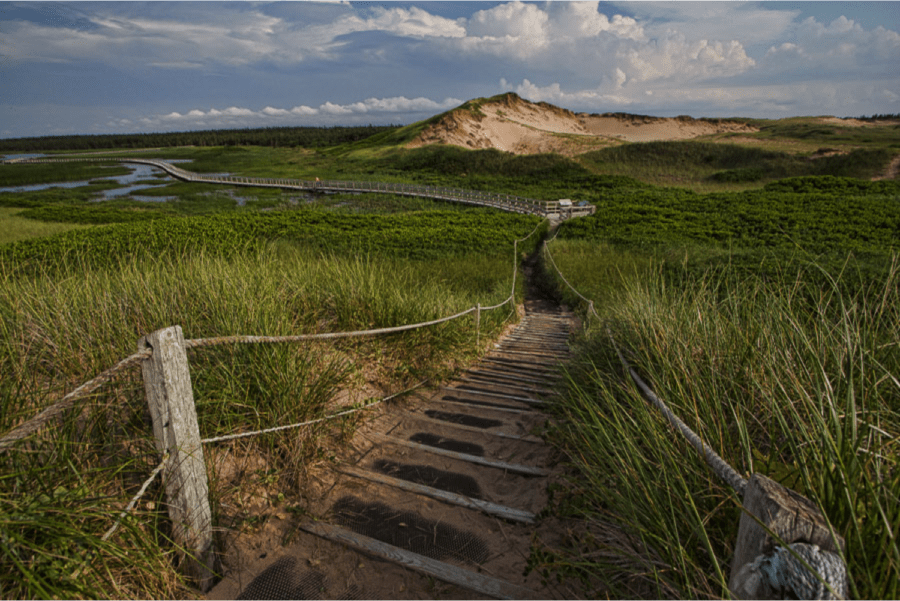
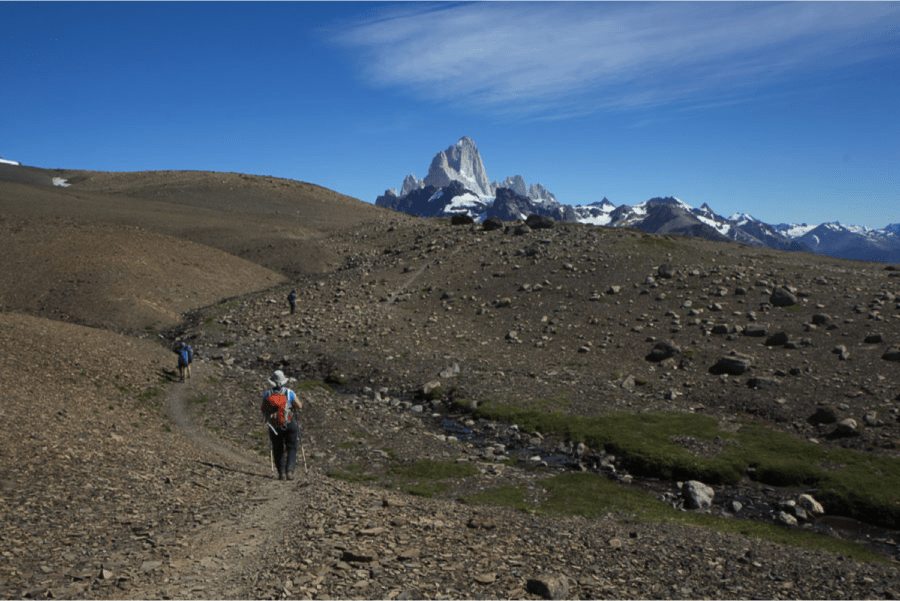
These lines can be straight, diagonal, wavy, or any other creative variation. They can be roads, fences, shadows, mountain landscapes, or even the curve of a hat. To be most effective, you should try to create your overall composition so that the lines appear to be moving in or out of a corner(s) of the image.
Examples of Leading Lines
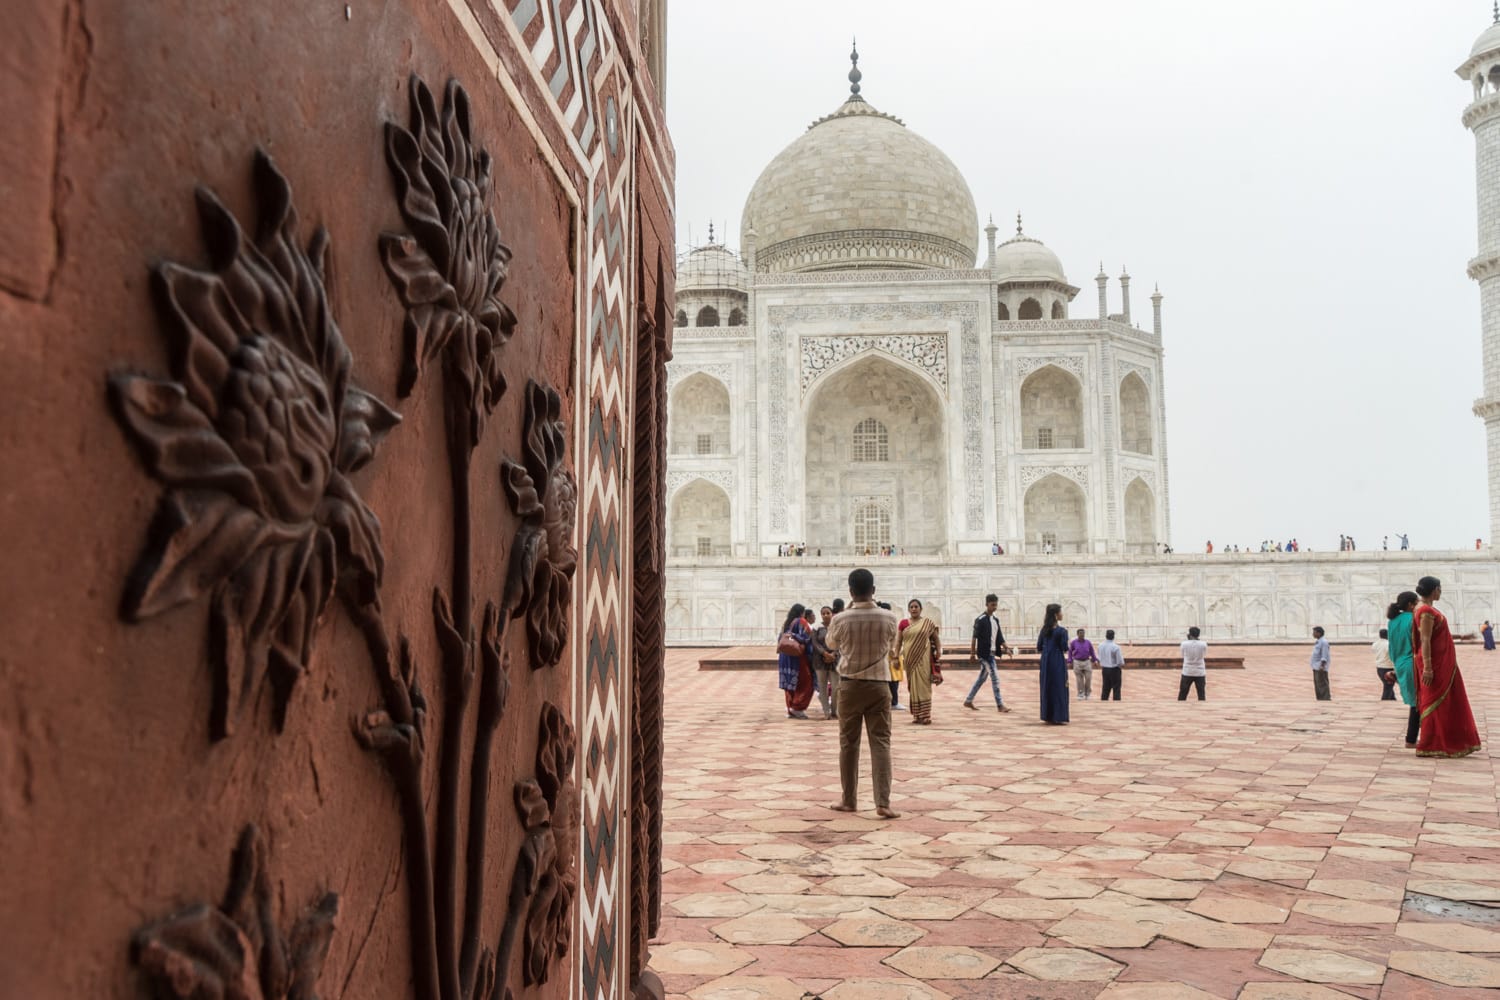
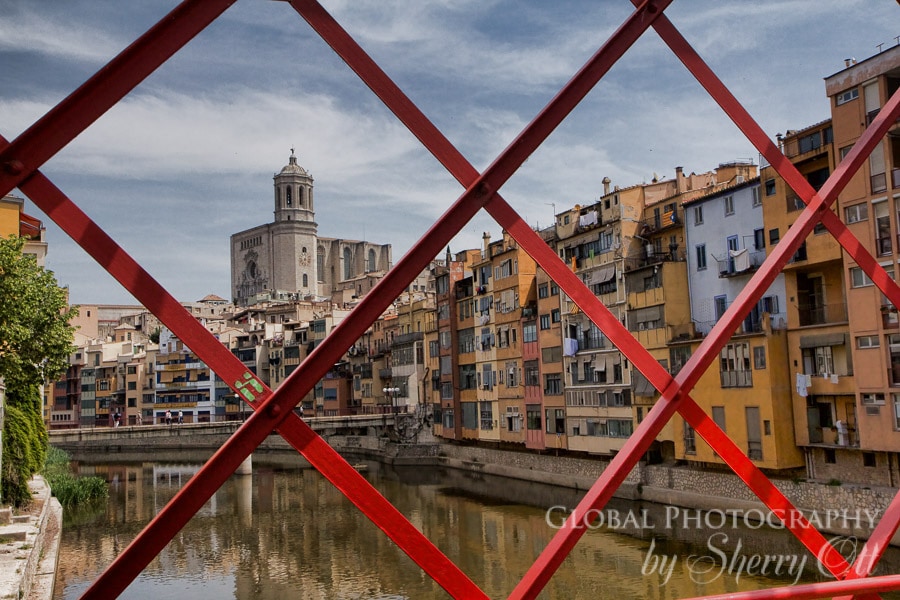
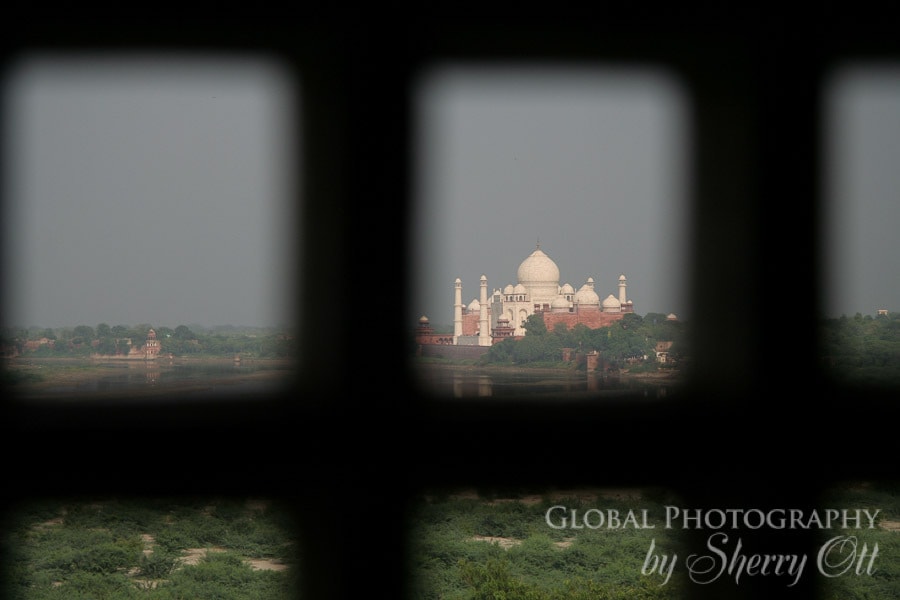
4. Framing the Subject
This is a pretty simple concept because we all know what a frame is – it is something that goes around a picture. Framing in composition is something that frames your main subject to call even more attention to it. This is probably one of the easier composition techniques in photography.
Framing brings more depth to the picture and a better focus on what the main subject is. Plus – it’s a great way to highlight something that is always photographed; it brings a new perspective and interest to the subject.
Examples of Framing Travel Pictures
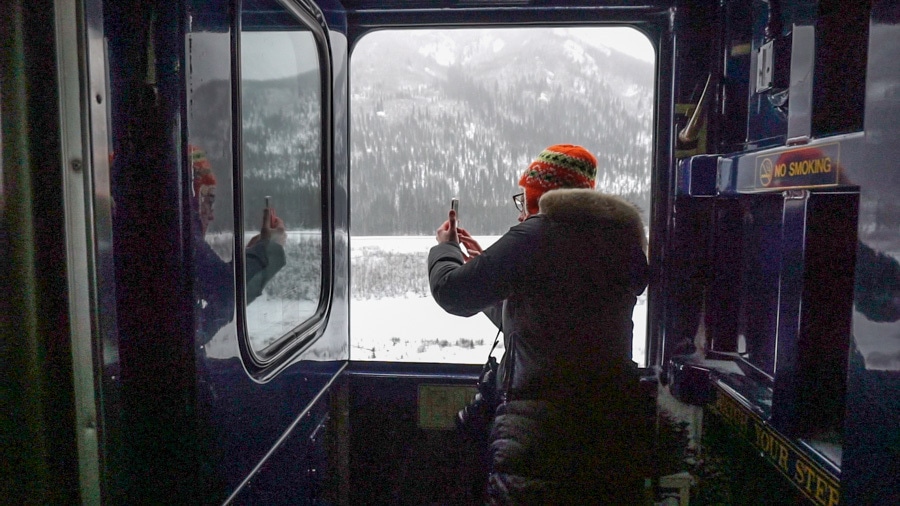
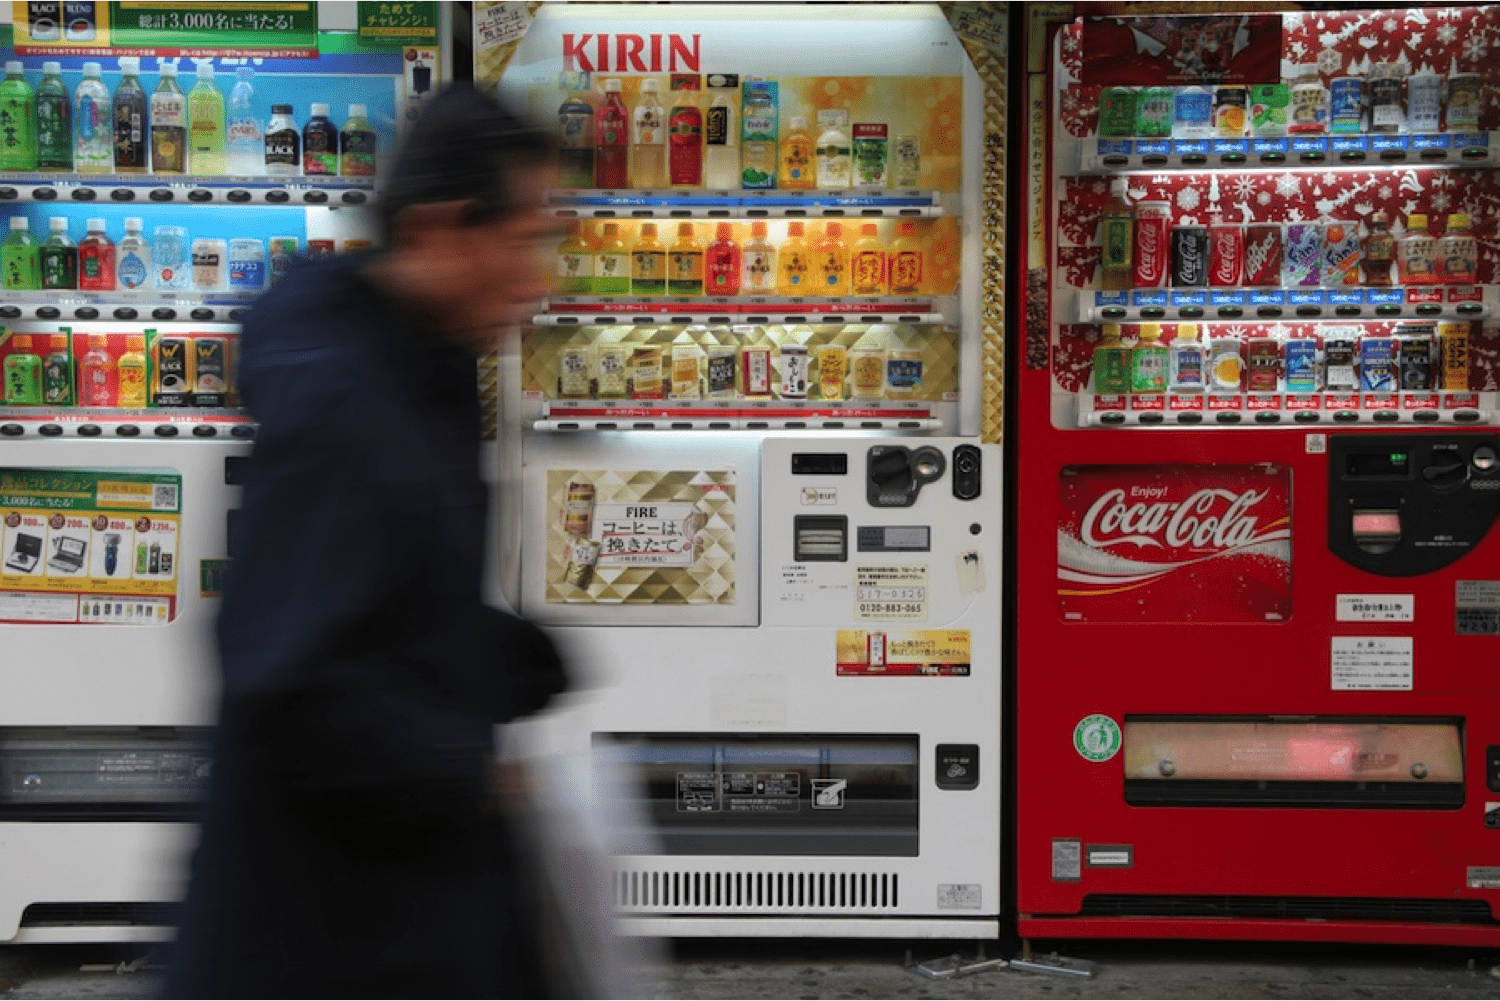
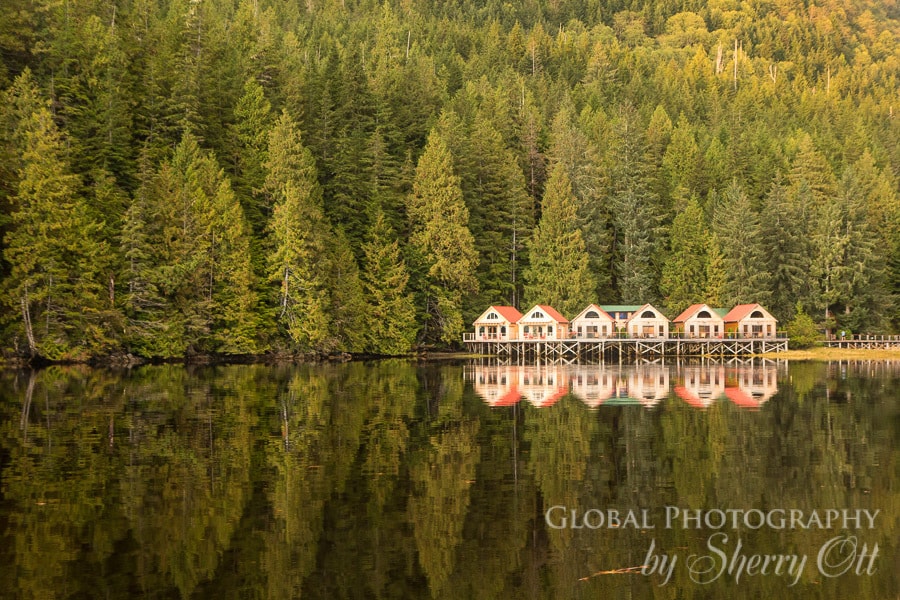
5. Look for Reflections
When you are walking around a destination you often you need to look beyond what you first see. Photography is about going slow and being attentive to light, reflections, and angles.
Capturing a reflection in your travel photo can be a new way to showcase an often-photographed sight or simply ordinary photograph.
Of course you can look for reflections in bodies of water, like lakes, rivers, and streams. But push yourself further and look for reflections in windows, puddles, fountains, and even beverages.
Examples of Reflection Pictures


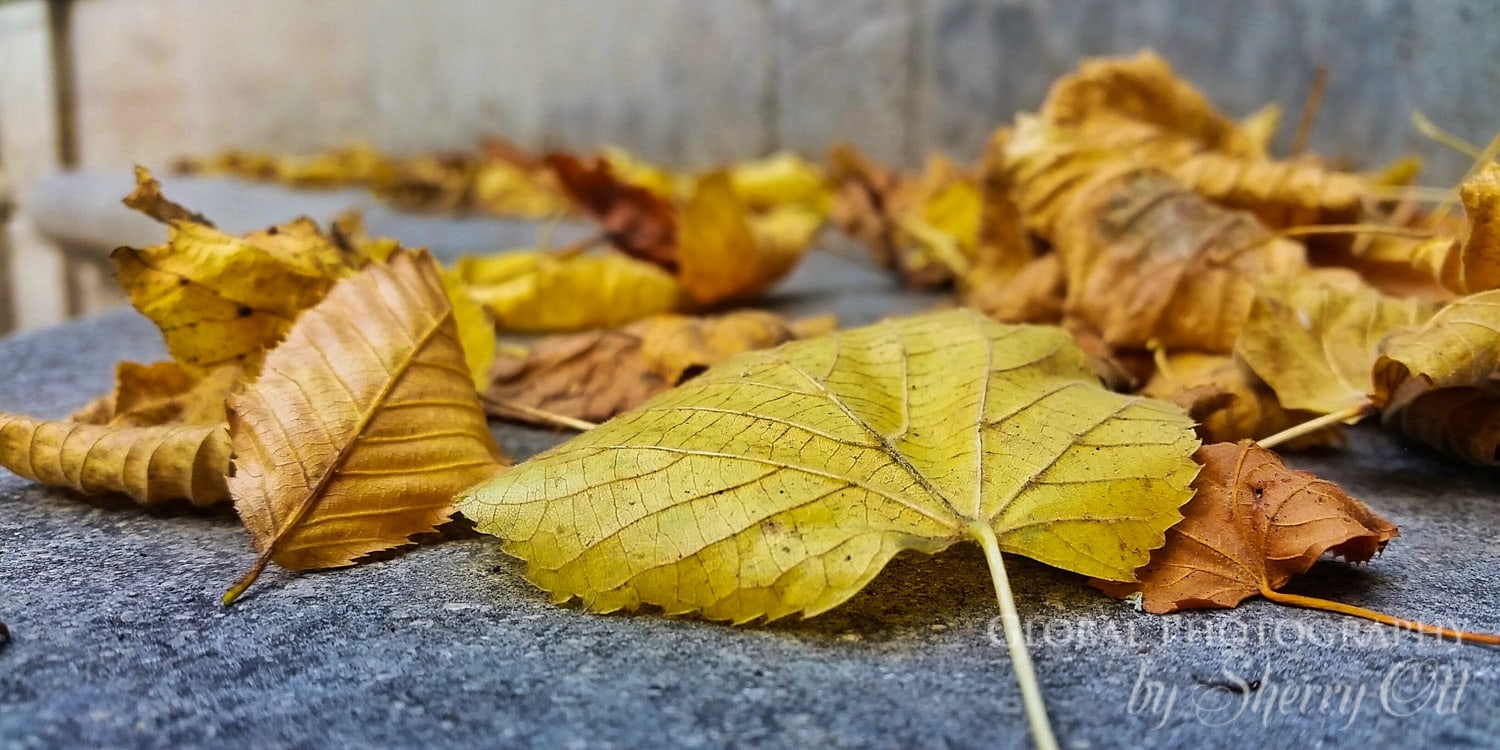
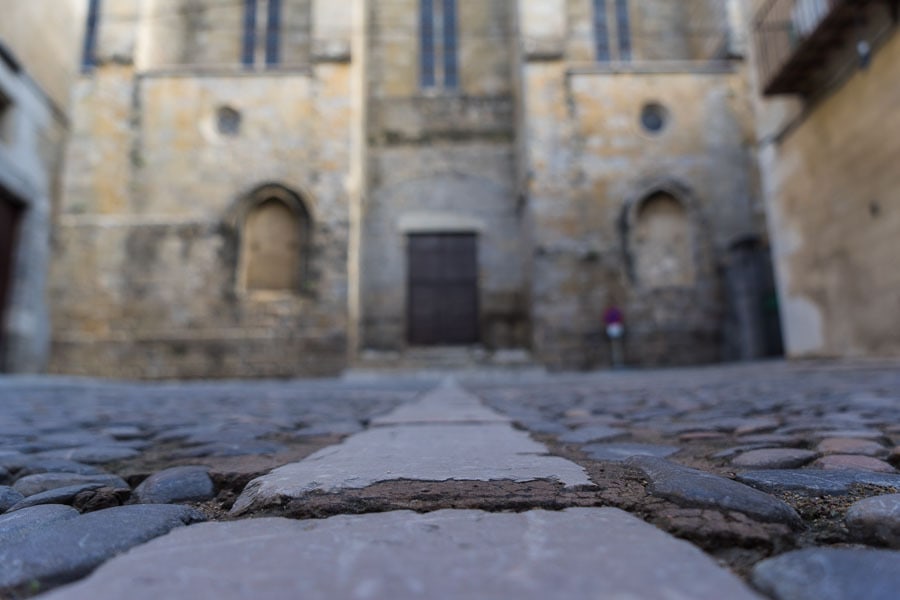
6. Change The Perspective to Take a Better Picture
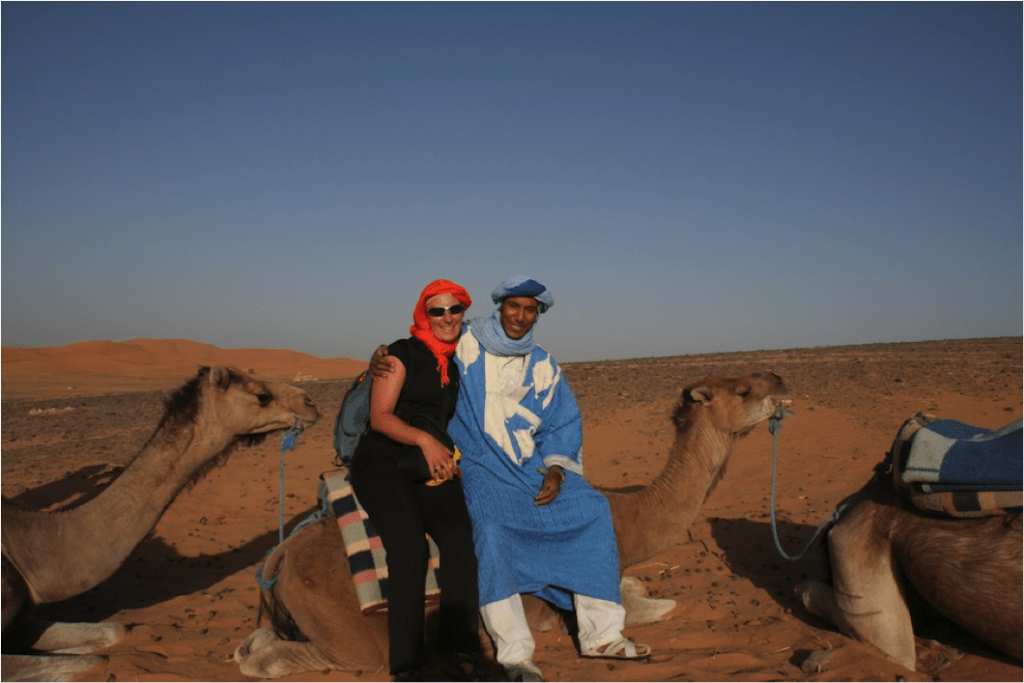
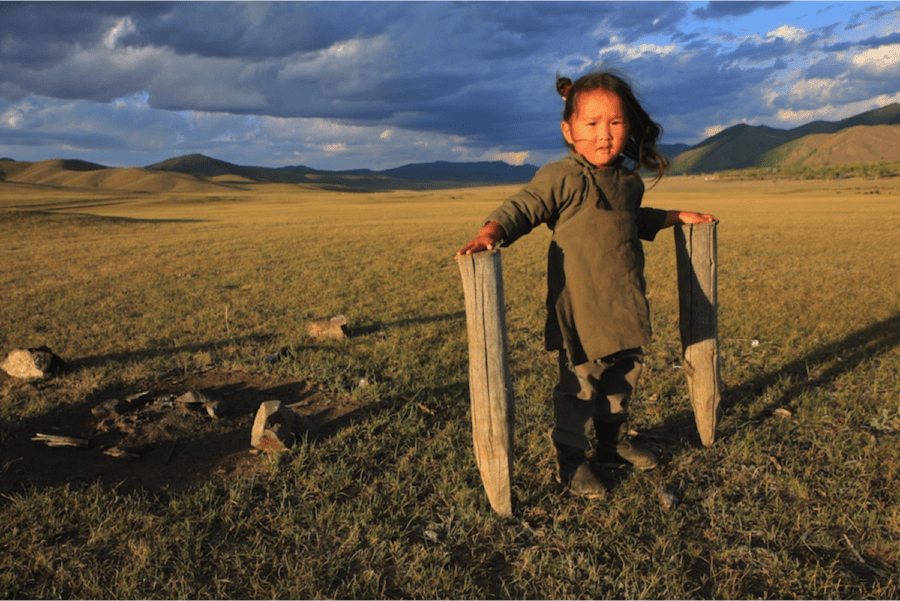
Most of us see something we want to photograph, put the camera up to our eye level and click. However photography is about moving; crouching, standing on things, putting your camera on the ground and changing perspectives.
Try to get on the same level as your subject. If you are photographing children (or anything lower to the ground), then crouching is a must to get to their level and interact with them. It helps put them at ease.
Shooting from different angles and levels can make a huge difference between an ok and great picture.
Examples of Changing Perspectives

Here’s an example of how a picture changes just by getting lower and changing the perspective of standing and shooting. Also note the leading line and the symmetry of the photo.


7. Scan Your Frame Before You Click
Before you click the shutter button, take one last look around your frame; especially the corners. Look for pesky power lines and other distractions. There’s nothing worse than trying to get a great shot of the simplicity of village life in remote areas and there are power lines running through your shot! If power lines are in your frame, then go to another vantage point (squat down or stand on something) so you can get a nice clean shot. Right before I shoot I move my eye around the perimeter of my frame to make sure it’s clear – then take the shot.
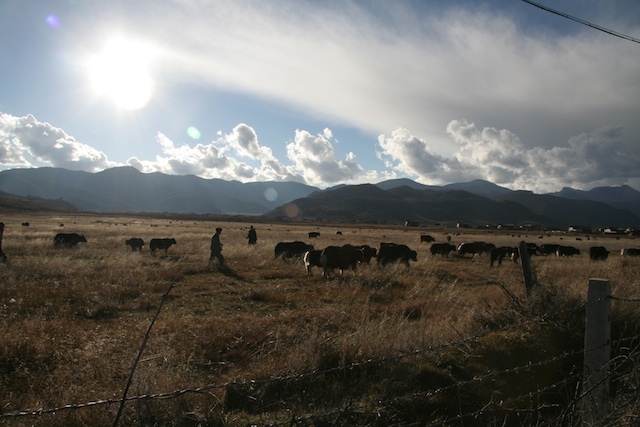
8. Go Wide to Tell the Bigger Story
I know everyone likes to have these super zoom cameras and lenses, but the more powerful photos are the ones where you can see the people relate to their environment. Your photography will improve by widening your view.
Not only will you get the environment around a person, but by using a wider angle and not relying on the ‘crutch’ of a zoom lens, it will force you to get up closer to your subject. This means that you’ll interact more with your subject and that ALWAYS makes a better picture. If you use an DSLR or mirrorless camera, simply use a wide angle lens for a day and see how your photography improves!
9. Memorize Your Camera
If you are using an DSLR or Mirrorless camera make sure you get to know your main controls by feel BEFORE the trip. Practice while you have the camera up to your eye looking thru the view finder, make sure you can find and switch the ISO, shutter speed, aperture, and focal points by feel (without removing the camera from your face to look for the buttons!).
Practice these things before you leave on your trip. Set up a shot and see if you can change all of these things quickly by feel. It may be tough at first, but with practice, you’ll get to know the locations of these buttons and wheels just as you know your shutter button and zoom. Knowing these features will help you to react quickly to the ever changing situations around you while doing travel photography.
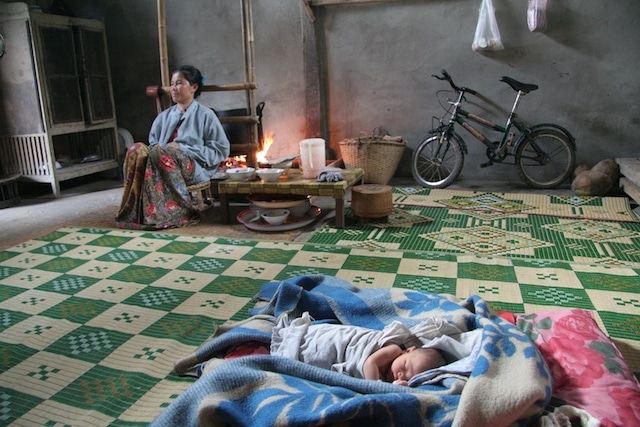
10. Be Patient and Wait For the Photo You Want
When you see someone doing something you want to capture, how do you go about asking permission to take their photo and not have them stop what they were doing and pose/grin into the camera? You wait. And wait.
It’s inevitable if you ask someone to take their picture while they are playing an intense game of cards, they will all stop and look at the camera and smile; not quite the shot you were looking for. However take that shot of their cheesy grins and then show it to them…they will all laugh and smile be satisfied. Then they’ll go back to their game of cards. That’s when you can now wait around and get the real shots you want. Your newness will wear off and they will forget you are there and go about their intense game. Now you can start clicking.

If you follow these 6 simple composition rules for your next trip you’ll come back with pictures you are proud to share. It doesn’t matter what camera you use, or what equipment you have, to do any of these simple things.
11. Practice!
The best advice I can give you to take better vacation pictures is to PRACTICE! Take your camera with you everywhere and practice, practice, practice!
PIN IT FOR LATER!

I want to hear from you! Did you try the composition rules, how did your photos turn out? Please share in the comments below.

By Laura August 9, 2016 - 12:40 pm
Thanks for doing this. Question: do you typically use a tripod when you shoot or no? It seems like a lot of travel bloggers do, but it just seems like a pain to me. Do you find them necessary when you’re out and about?
By Sherry August 10, 2016 - 7:07 pm
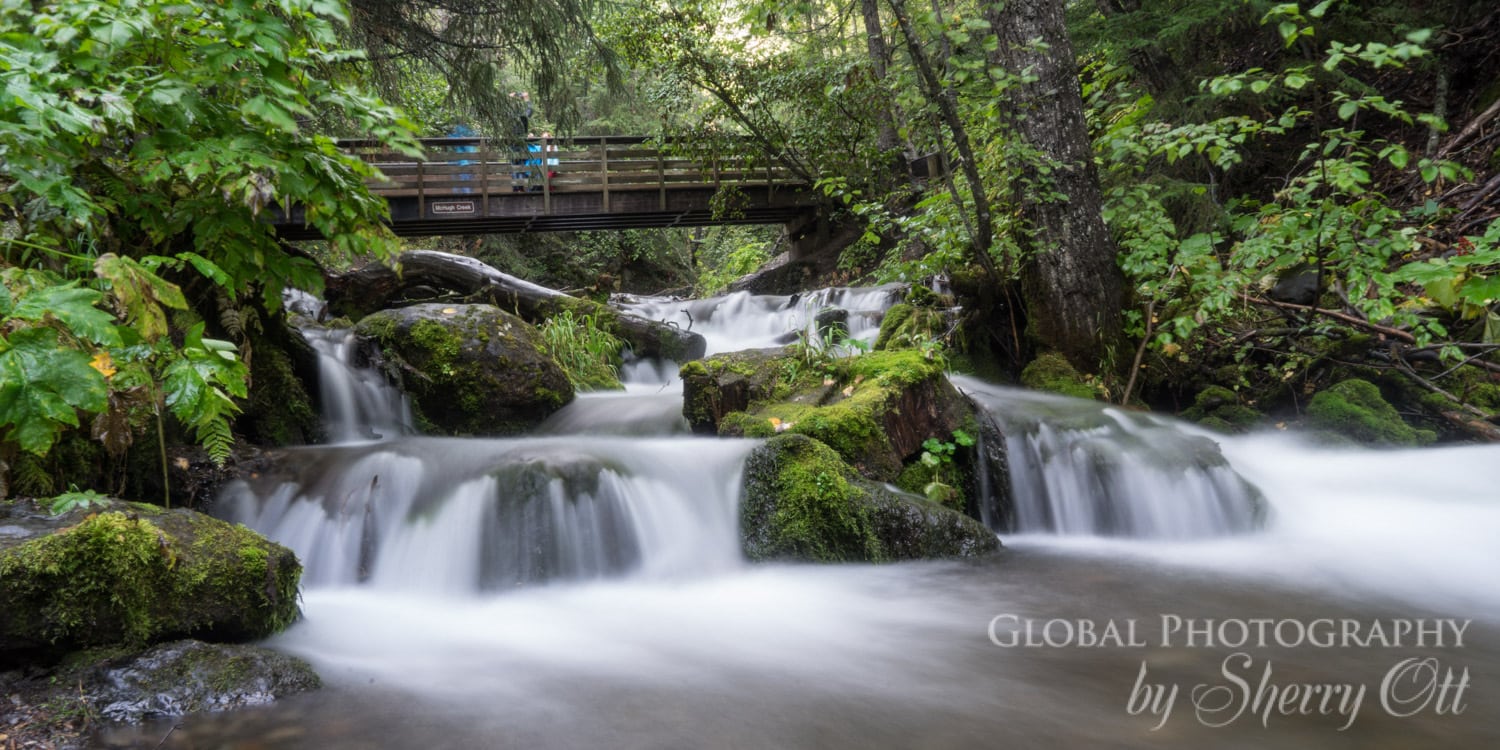
Laura – I don’t normally carry a tripod as I just don’t have room. I have a pretty good camera and lenses so I can shoot well in low light. However occasionally I do carry a tripod…I have one with me now. I think you get away without one though the majority of time unless you want to do night photography or start doing long exposure stuff. But with regular shooting you’ll be find with hand holding the lens.
By Mike Eaden August 9, 2016 - 2:05 pm
I appreciate the technical tips in this article and you are spot on. I think there is also a why to photos that is overlooked. A selfie at the top of the Empire State Building is less impressive to me than showing me the experience you had going up the building and of seeing all of Manhattan from that perspective! Some people keep a written travel journal. I have a waterproof point and shoot camera that I travel with. When I’m traveling it’s ALWAYS around my neck.It’s my travel diary! I break all of the rules in this article if there is a why, when, where, or who that reminds me of a place, time, or experience. Just like journal pages some photos are public and some photos are just for you.
By Sherry August 10, 2016 - 7:05 pm
I love storytelling with photos…it’s what got me into writing.
By NTripping August 10, 2016 - 5:17 am
Great tips, Sherry!
Photography is all about skills and has very little to do with the equipment we use.
Cheers,
N.
By Katie August 10, 2016 - 12:15 pm
This is great, I just got my first DSLR and have no clue what I am doing. Your pictures are amazing!
By Sherry August 10, 2016 - 7:05 pm
My best advice Katie is to take a class to really learn how to use the DSLR and start shooting manual. However – as a first step though…practice these composition rules!! Good luck! Let me know if you have any questions!
By Anca August 12, 2016 - 1:25 pm
Great tips! Thank you for sharing them 🙂
By Diane August 19, 2016 - 8:54 am
Hi Sherry, I am doing photoshop layouts but I found editing images like these is quite difficult. Thanks for sharing this article, maybe knowing the basics in capturing images can help me improve my editing skills as well. Diane @ stanley-travel.com
By Leigh | Campfires & Concierges August 29, 2016 - 7:33 pm
Great post – both for the tips, and just ogling all the cool places you’ve photographed 🙂
By Phoenix Hutton August 30, 2016 - 11:15 am
Great tips! Thank you for sharing them. I have to admit – even though I’m an avid traveler and I do like taking pictures, I’ve never actually taken the time to study much about the composition and the lighting. I was always in one big hurry to capture the moment and get back to whatever I was doing. Anyways, your article has really stirred my appetite for photography, so I’ll be sure to bookmark these tips and use my camera more when I’m on vacation. 🙂
By Sherry September 5, 2016 - 1:46 pm
Super! Glad it was helpful. They are simple things that cost no money and improve photography greatly!
By Carol from Wayfaring Views September 1, 2016 - 3:26 pm
Great tips Sherry- I would also encourage people to look up, look down and look behind you.
By Sherry September 4, 2016 - 12:58 am
Absolutely Carol – good tips!
By Emily September 13, 2016 - 9:34 am
Hey Sherry – what do you use for photo storage (cloud) when traveling for long periods of time? I am planning my RTW trip and I will have a computer.
By Sherry September 18, 2016 - 6:43 pm
I use a 2TB external drive to store all of my pictures. I have a backup external drive of that original drive that I also carry with me. Then I store my phone pics on Dropbox, and I store my best photography pics on Smugmug. So – Smugmug is really my ‘cloud storage’ for good photography as I also sell photos there. You can see what it looks like here at photography.ottsworld.com. And you can learn more about Smugmug here – SmugMug
By dubai wedding planner September 22, 2016 - 6:41 am
Great places are shown in images. Specially my most favorite place is the eiffel tower. its always love <3. Thanks for sharing your experience with us, its really mean allot. Thanks
By Alasdair | Globe Trotting Scot November 9, 2016 - 12:35 pm
Thanks for this great little article. I’m quite inexperienced with photography so I’ll definitley be putting your tips in to practice.