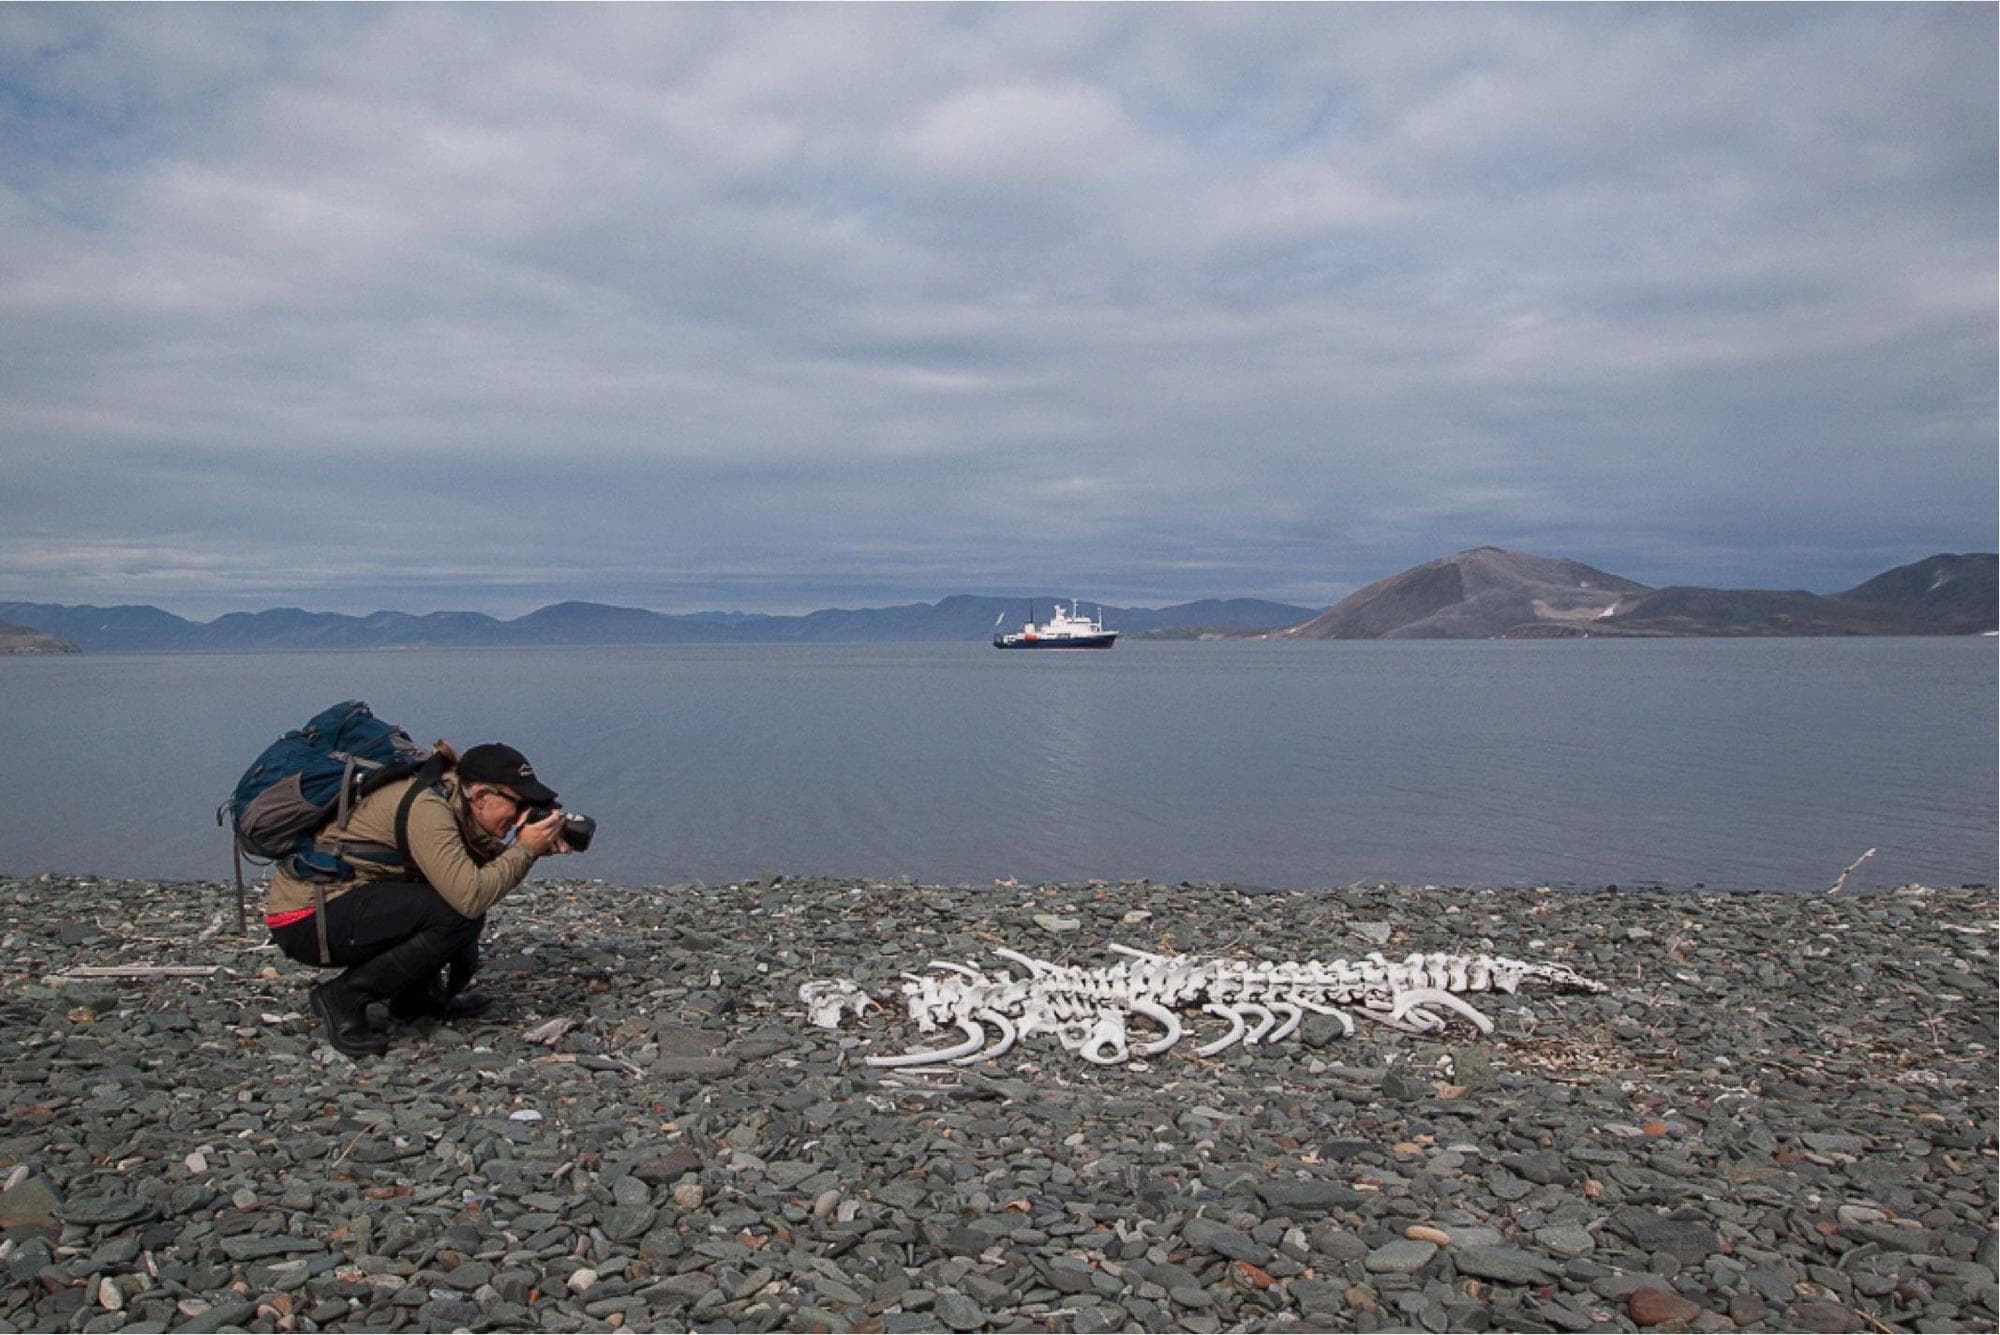
I wish I had my other lens with me for this shot. I should’ve packed my tripod. Why didn’t I bring my filters with me? I need my other camera bag for this hike. These are frequent thoughts that run through my mind on every trip; I never seem to have the photography gear I need with me.
It’s not because I’m forgetful or a terrible packer. (However, in reality, I am a pretty bad packer.) I don’t always have the right gear with me because when I was nomadic, I was on the road for months and months and didn’t have the luxury of bringing everything with me or even the best camera gear. Travel photography, when you are nomadic, means that you make sacrifices; I can’t tell you how much photography gear just sits in my storage unit and is barely used!
However, I feel that carrying less travel photography gear has made me a better photographer. It makes me pay more attention to composition and working with the light I have, rather than all of the other bells and whistles.
One of the most frequent questions I get asked is what travel photography gear I use and recommend.
Since I made the switch from DSLR to mirrorless this year, this kicked off a waterfall effect of other changes in camera gear. It’s not just the camera you have to buy, everything else seems to change too; lenses, batteries, sim cards, flash, camera bags, LensCovers, filters, and more. It’s been an expensive year for me! I have been working with the Sony A7ii full-frame mirrorless now for six months; I feel like I can provide answers based on my experiences with all of these new – and some old – items.
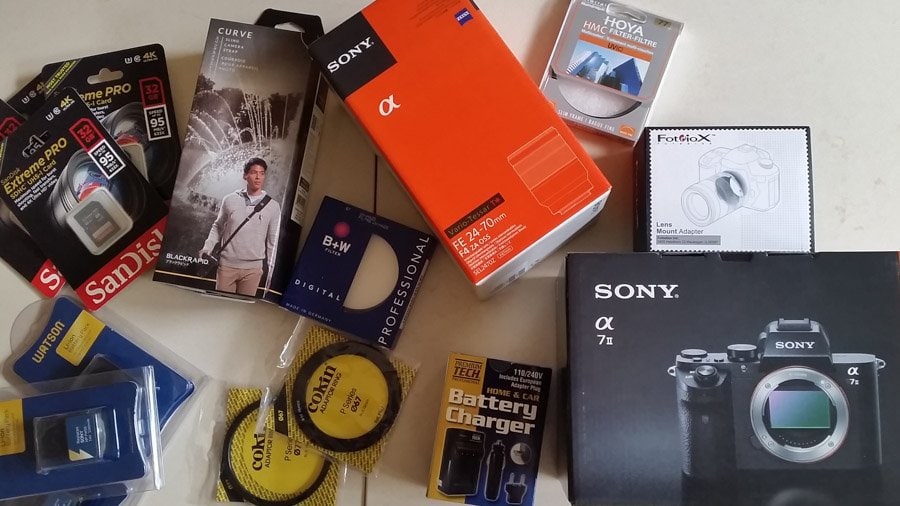
I don’t consider myself a professional photographer, and this isn’t going to be an intense review of the gear I use or the pros and cons of the technical breakdown of a camera – there are other sites for that info. But this will give you an idea of what I use on trips, how I attempt to stay light but good quality, and what my experiences have been with the products at a high level.
Also, note that this isn’t the best gear out there by any means. However, this is the gear I could afford. So, of course, photography gear depends on your personal budget, too. I had to find things that fit my budget and met my most important needs.
Check out these 38 gifts for friends going traveling
Table of Contents
Sony Mirrorless Camera Body
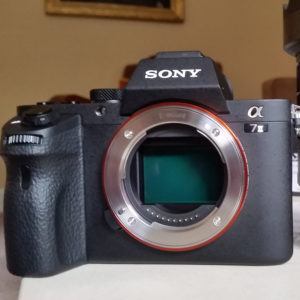
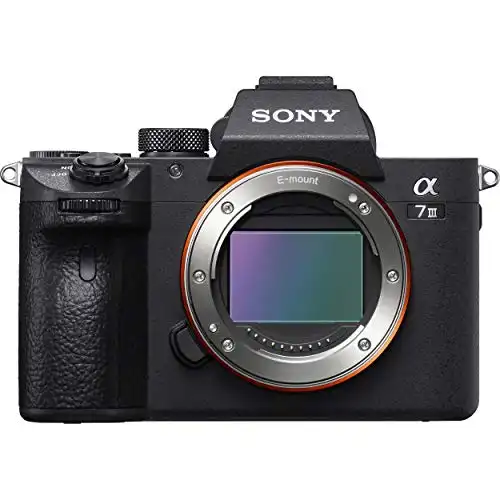
I started with a Sony A7ii full frame mirrorless and then made the switch to the Sony A7iii when it came out. I’m happy to say that the problems I found with the A7ii were all fixed with the newer A7iii.
What I carry with me when I travel changes every trip depending on where I’m going, for how long, and how much I feel like lugging around. However, the camera body is always the same. And now I have two camera bodies!
I switched from DSLR to Mirrorless, so you can see my high-level review of it and my feelings about it via the link (spoiler…it wasn’t all good feelings!). The Sony mirrorless cameras have a lot of bells and whistles; it took me a while to understand all of the menu options! The fast focus, as well as the variety of focus settings and the image stabilization in the camera body, is really a plus. It does take more battery power than my older Canon, but I’ve just gotten in the good habit of turning my camera off after I take a picture. Plus, the new A7iii has new batteries that have a much longer life, and improvements are being made.
You can find some good deals on the A7ii now that the newer version is out, but based on the issues I had with the ii, I wouldn’t get sucked in by the lower price tag. Just invest in the A7iii, it’s worth it.
Sony a7 III Full-Frame Mirrorless Interchangeable-Lens Camera Optical with 3-Inch LCD, Black
Lenses
The most important thing in your photography arsenal is your lens. That’s why when I changed over to Sony, I had to go through the agonizing process of replacing lenses – lenses that I loved. And because I’m not rich, I couldn’t just get everything at once; I had to just get the basics and then plan to slowly supplement and replace over the next few years.
My ‘Go-To’ Travel Photography Lens
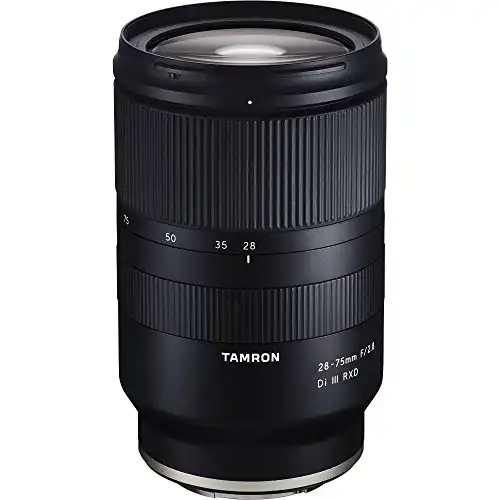
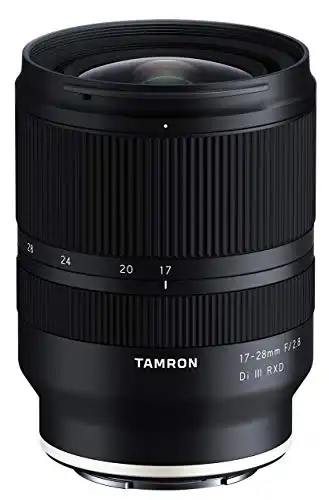
I think it’s important to have a really good quality (i.e., more expensive) everyday lens, a lens that you will use the majority of the time and that’s good in low light. I use the Tamron 28-75mm F2.8. I really wanted something that focused fast and had a low F-stop. So far, I’m loving the results – it’s my first Tamron – and it won’t be my last. I have my eyes on their wide angle lens for my next photography gear purchase!
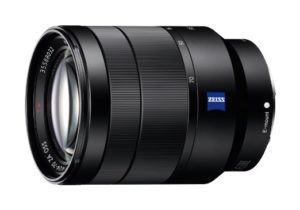
I also have a Sony 24 -70mm f/4 Vario Tessar T. It’s a super sharp lens and does great in low light. However, at F4, I prefer the Tamron for it’s F2.8. I like being able to get really close to the subject I’m photographing – like food, and I found that the F4 wasn’t able to get as close of focus distance as I would like. The Tamron is much better at that. However, the Sony lens is a much higher quality lens, so it’s a trade-off between what’s important to you and what’s important to you.
Telephoto Lens 70 – 300mm

I also had to find a solution for a telephoto lens, and I decided to switch to Sony for that, too, since the focus is super fast. I use the Sony FE 70-300mm F4.5-5.6 G OSS Lens, and I’ve really been happy with it so far. It’s not too heavy or big, the focus is fast, and the lens is sharp. Even though it’s only a 300mm, I can crop in on the photos to get closer if necessary as the lens is so sharp. However, I found that I wanted an even longer lens for wildlife photography.
Telephoto Lens – Sigma 150 – 600mm
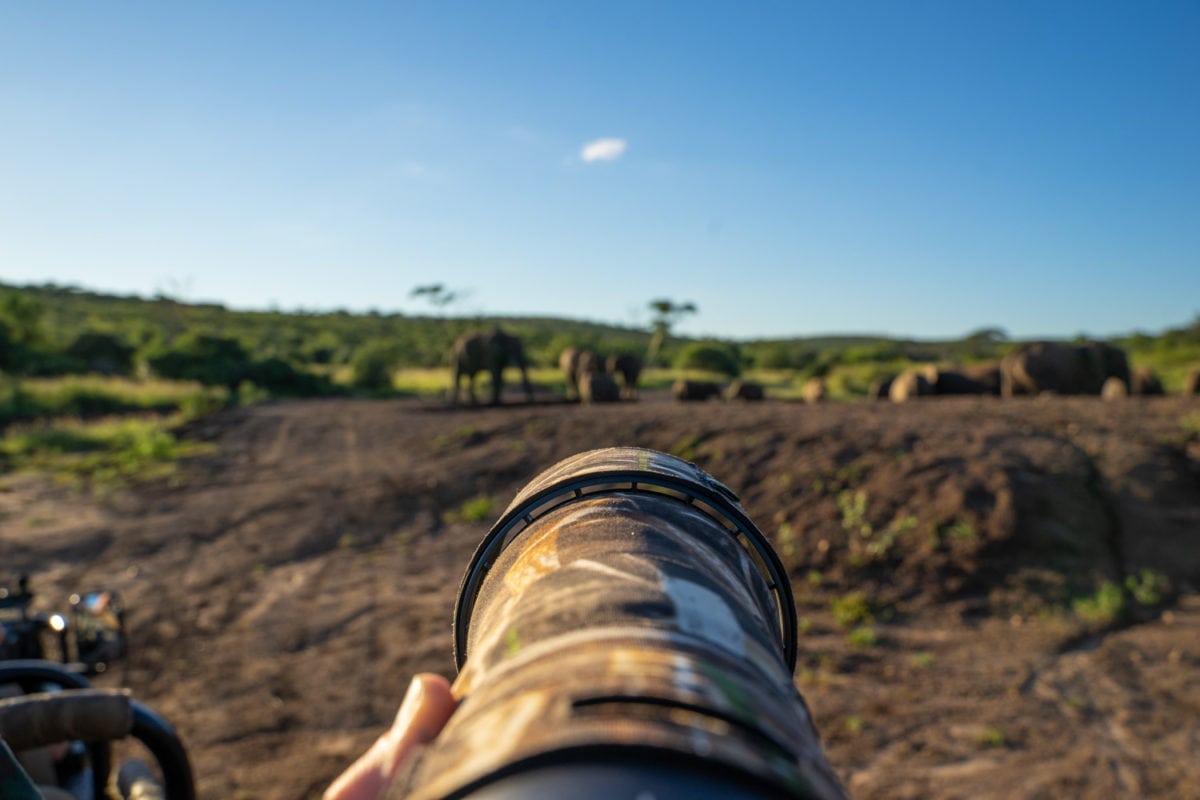
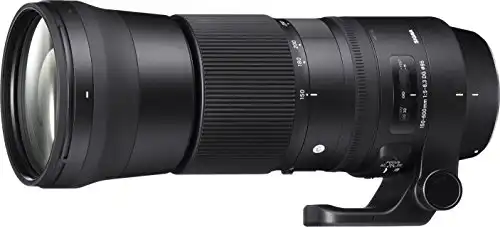
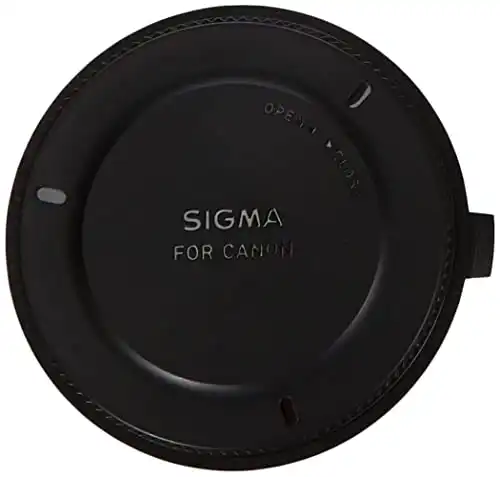
For wildlife photography I went with the Sigma 150-600mm 5-6.3 (for either Nikon or Canon and an Sigma) mount converter MC11 so it would work with my Sony camera body. I looked at the Sony telephoto lenses, but they are just too terribly expensive for me to justify. The Sigma telephoto worked great with the Sony focus system (with a mount converter) and I absolutely loved this lens.
Coming in at under $1000, it’s cheaper than getting a Sony lens! Granted – it’s a bit on the heavy side and you don’t really want to be handholding it or walking long distances, but for wildlife photography with a monopod, tripod, or beanbag – it’s great. Definitely check out the more economical Sigma options if you are planning to go safari or bear-watching soon!
Check out my Safari Photography tips with this lens!
Sigma 150-600mm 5-6.3 Contemporary DG OS HSM Lens for Nikon I use an adapter to use with my Sony A7iii
I’m currently still using my older Canon lenses for my remaining needs until I can afford to replace them. The great news is that you can use Canon lenses with the Sony if you have an adapter.
Adapter
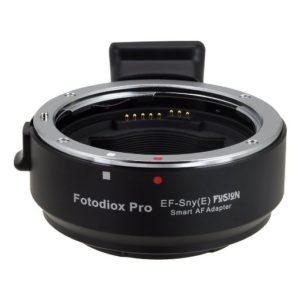
I use the Fotodiox EF-Sny(E) Fusion Smart AF Lens Mount Adapter. This is a fairly economical solution for an adapter, but there are more expensive ones. The only real drawback of having an adapter and using a Canon lens is that it slows down the ability of the camera to autofocus (something that the Sony normally lights up fast at!). However, when used with the newer Sony A7iii, it works perfectly fast. It’s incredible to see what a change there is in the two camera bodies!
Wide Angle Lens
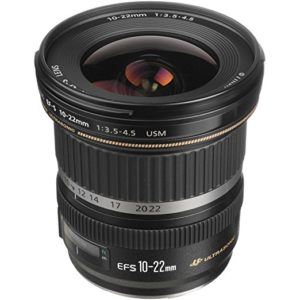
Canon EFS 10-22mm F3.5 – 4.5
Every travel photographer should have a wide angle option It’s great for landscapes with rushing clouds, and super for architecture shots in the city with narrow streets. . I do love this lens – in fact I’ve confessed my love for it a number of times. Eventually I will get a Tamron wide angle but for now the lens works fine with my Sony with an adapter.
Prime Lens for Low Light
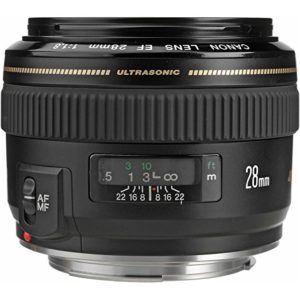
Canon EF 28mm F1.8
I love this lens for shooting in restaurants that are often really dark, and I don’t want to use (or carry) a flash. I can use this lens with the Sony setup with an adapter, and it works pretty great – as long as you have ample time to focus. The adapter slows down the focus process.
Creative Effect Portrait Lens
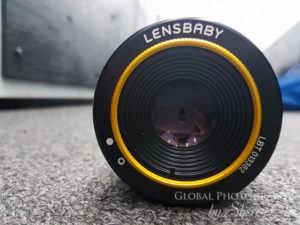
LensBaby Twist 60
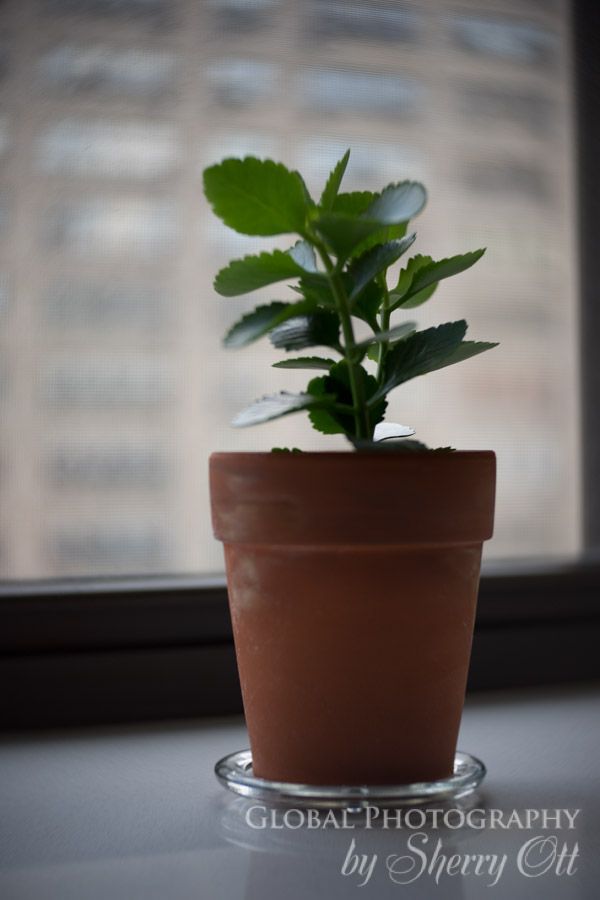
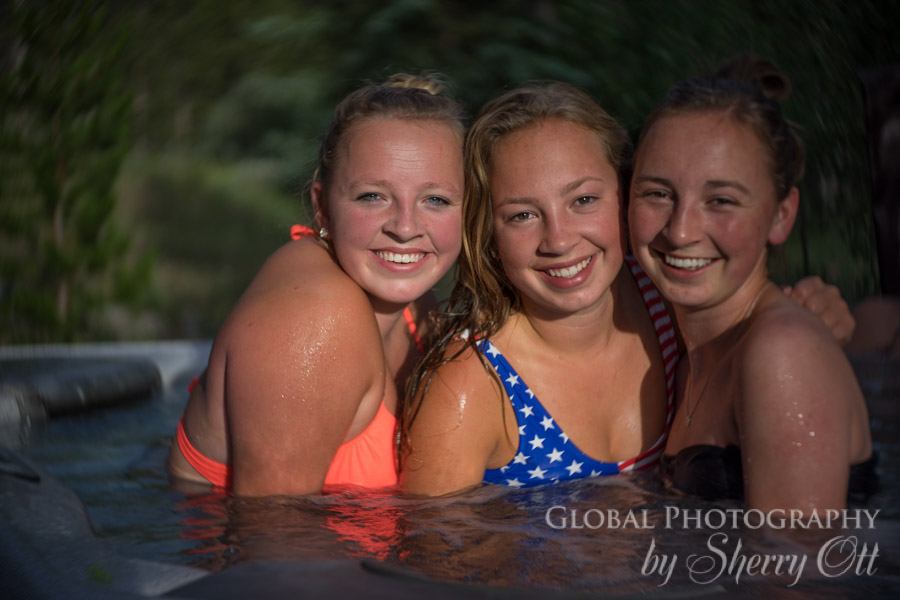
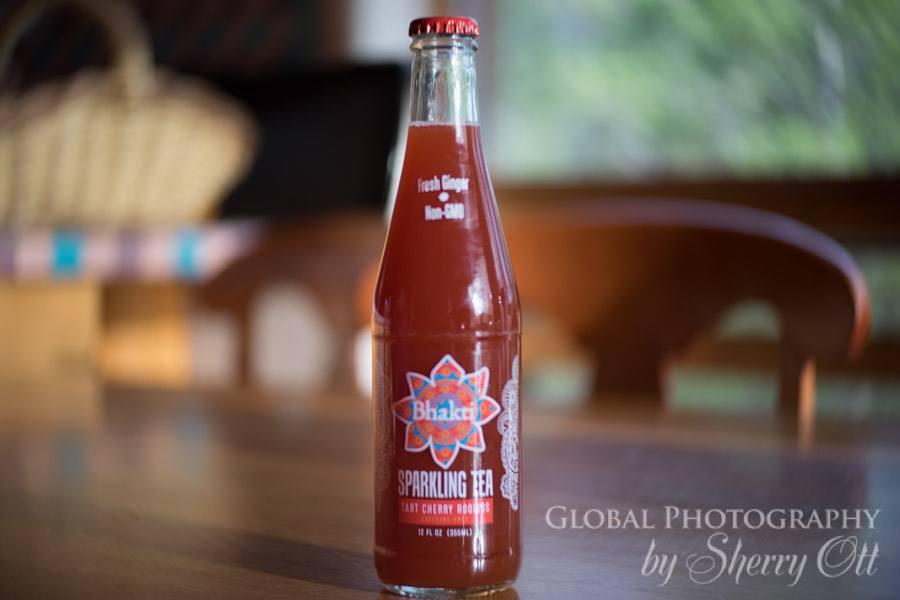
This is a lens that I don’t use that often yet as I don’t do a ton of portrait photography – but what little I have used it, it’s been great! This lens makes a swirled vignette around your subject. It provides a strong separation between subjects and their background – perfect for portraits or product shots.
Do be aware, however, that there is no autofocus feature on the lens – so you’ll have to focus and set your aperture yourself on the lens manually – not really through your camera. The effect of the swirled background is subtle but really cool.
Some ‘twist’ shots – you can see the subtle swirling blurred background
Tripod that Travels Well
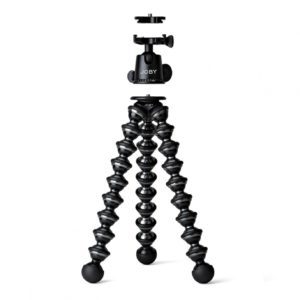
My tripods actually spend more time in my storage unit than traveling with me. This is a pain point for me. I actually rarely carry a tripod since they are just so bulky and heavy, and I already have too much gear to carry around for months at a time. So I decided to invest in good low light lenses instead as noted above. But I often find myself wishing I had a tripod with me in certain situations. I’ve sort of found a compromise for the weight and bulk issue with the Joby Gorillapod Focus Camera Tripod. It’s not a full-size tripod which is great for weight and size issues, but it also isn’t as versatile as a regular tripod. For me, it’s a trade-off that I can live with. This Joby tripod holds a DSLR, Mirrorless, or phone camera with lenses up to 11 lbs, so it is a really versatile tripod to have for travel.
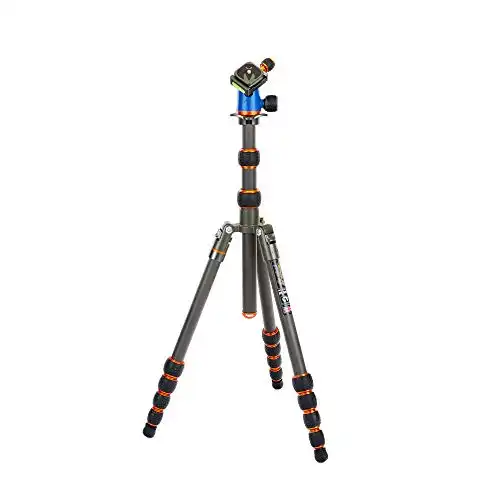
When I decide to take the extra weight of a full tripod, I bring my 3 Legged Thing Brian Carbon Fibre Tripod – it’s sturdy, but still travels pretty light. I used it for all of my night photography or aurora photography.
3 Legged Thing Punks Brian Carbon Fibre Tripod System with AirHed Neo 14kg Load Capacity
Camera Bags for Travel
Well, I’ve had my fair share of camera bags that I’ve used. This is a really personal choice for people typically. Since getting my new camera, I’ve had to change my bags out quite a bit. Here’s what I’m carrying now, depending on the trip.
Adventure/Hiking Photography Bag
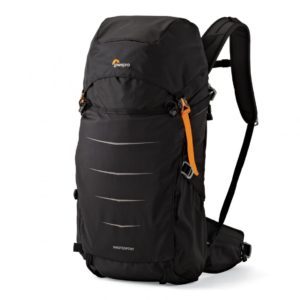
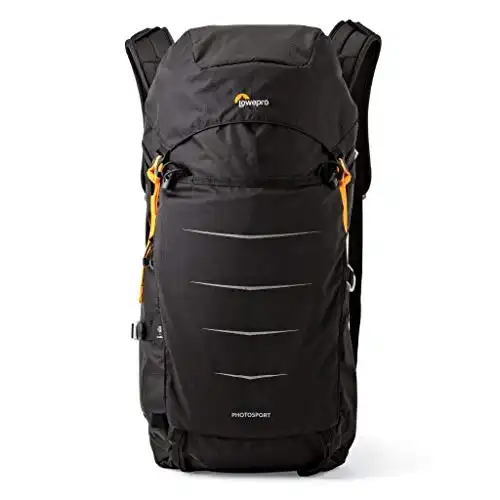
I do a lot of hiking and photography, and I’ve always been on the lookout for a good camera backpack that was part proper day pack and part Pro camera gear holder. I finally found it in the Lowepro Photo Sport! I actually have done my last two big hikes (Costa Brava and Alaska) with this daypack as my photography bag and hiking bag! I was able to bring my camera and two lenses with me easily, and it has easy access to the gear without having to take the back entirely off your back!
Check out the camera bags for travel that I love and use over and over again
From a hiking standpoint it’s a great daypack, I was able to pack in rain gear, extra socks, snacks and a water bladder. Plus it has an easy way to carry hiking poles. This is a great solution for the truly active photographer who needs to carry both hiking and a minimal amount of photography gear.
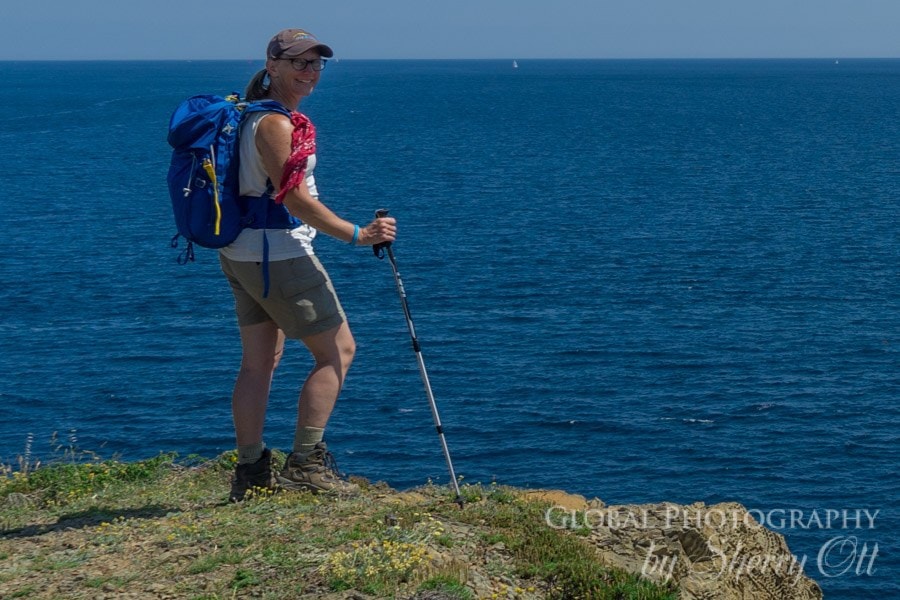
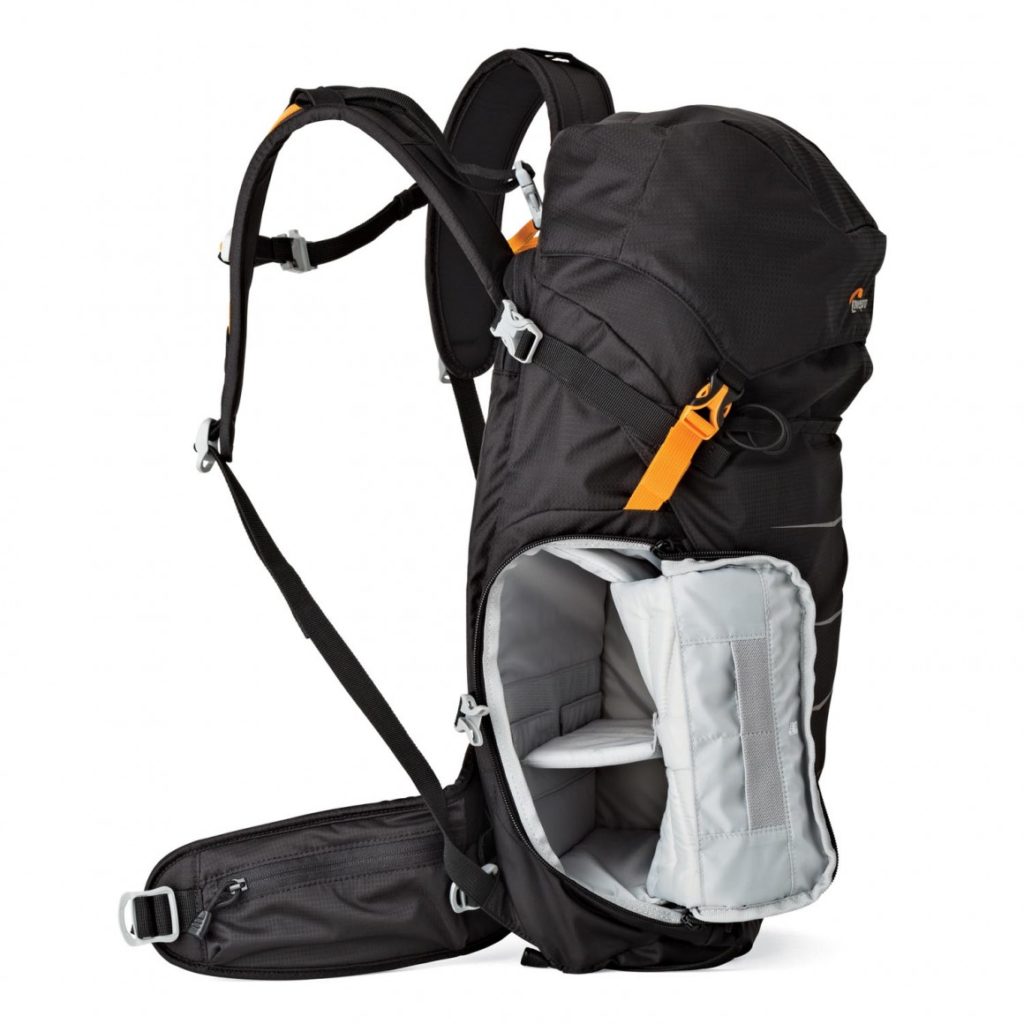
Two passions. One pack. This next-generation design is built to help you go fast and light.
Inconspicuous Everyday Travel Photography Bag
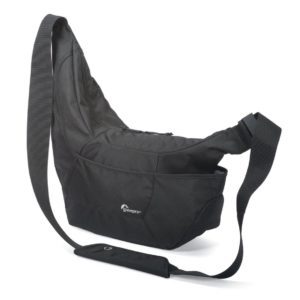
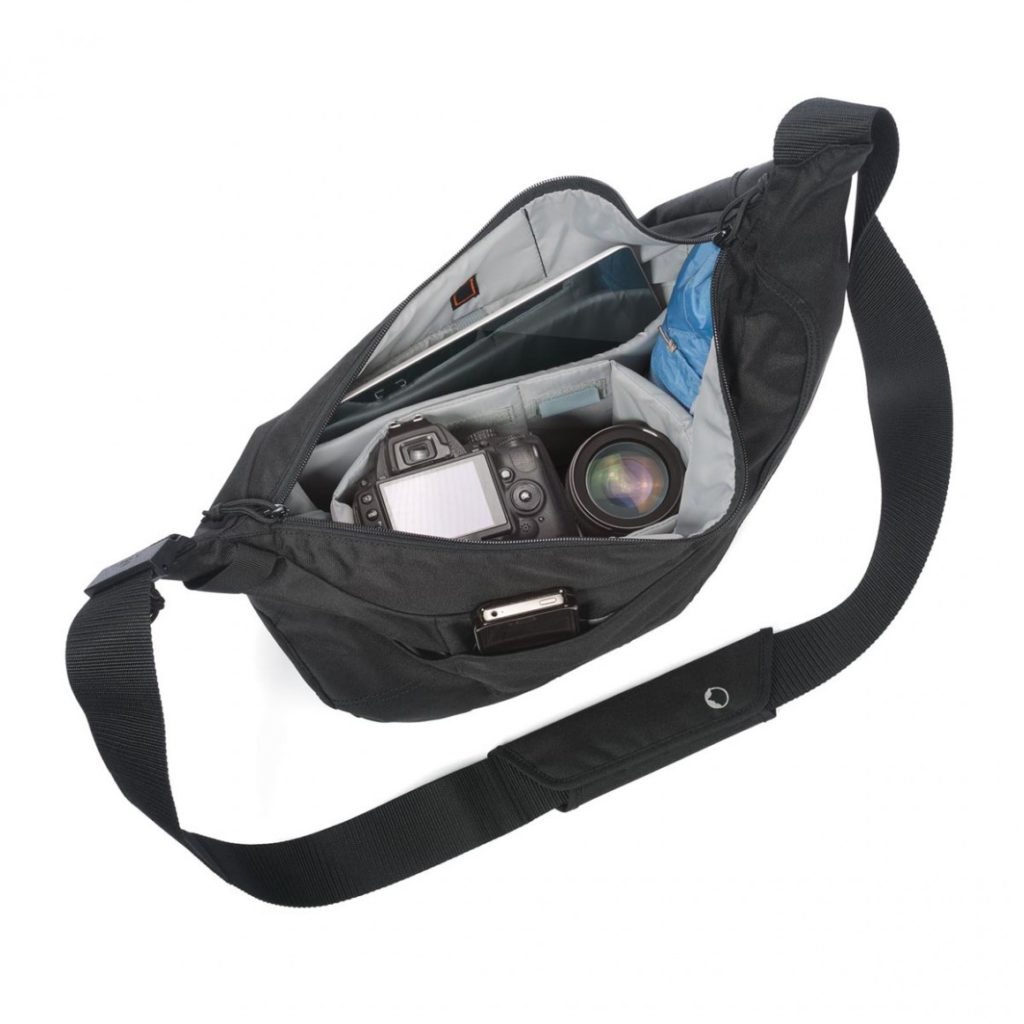
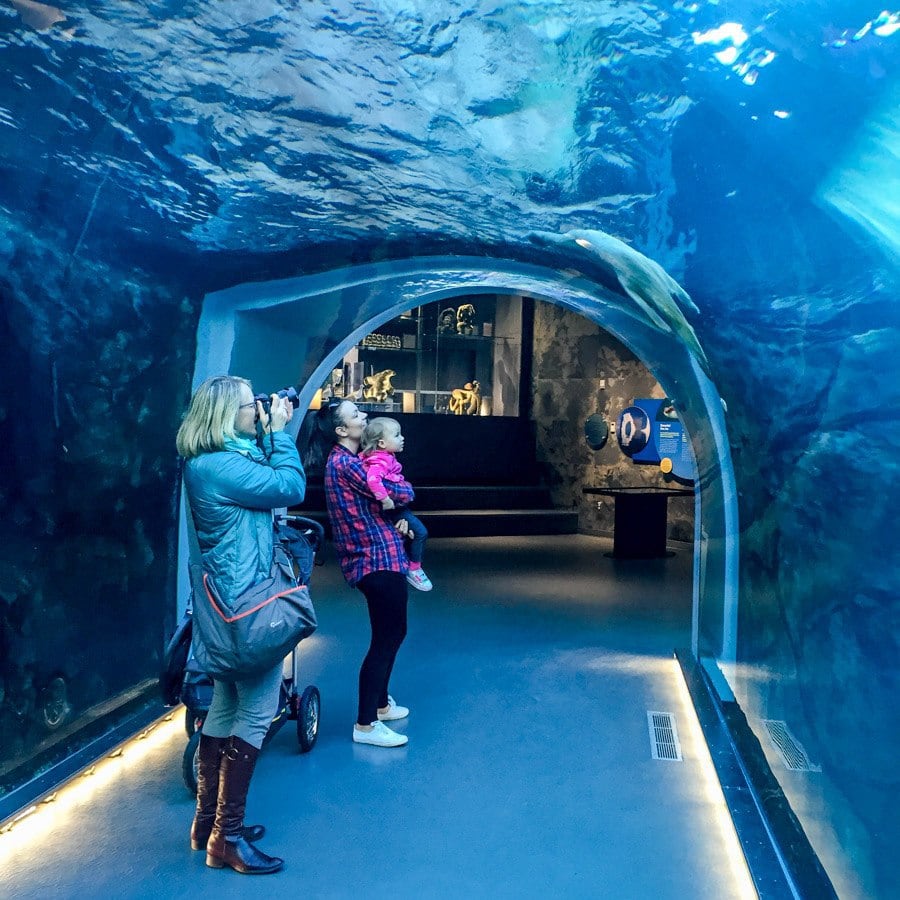
I recently tried the Lowepro Passport Sling III, which is a great day-to-day bag for my gear. It looks and acts like a purse, honestly – so this is a great dual-purpose bag for the ladies! I can fit in my small mirrorless camera, plus an extra lens and filters. Plus, I bring my wallet and other essential purse items. PLUS – it actually expands, and I can even fit my 13-inch MacBook Pro in it, too! So it’s perfect for taking out exploring a town, and you can actually carry everything with you. I also use this as my ‘small/personal item’ carry-on when I fly and can fit a bunch of stuff in it plus a reusable water bottle on the outside pocket!
Photography Bag for Photography Focused Trips
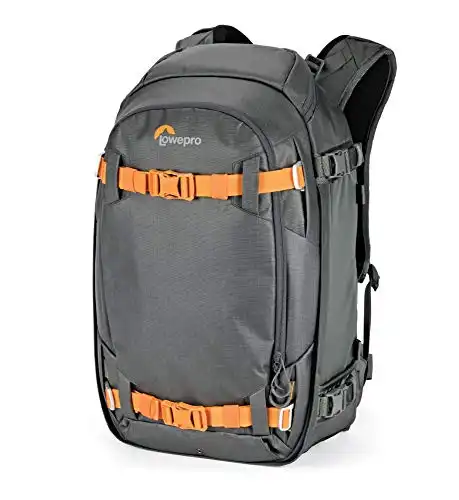
When I go on trips where the main purpose is photography or wildlife trips, I take a proper photography bag that can hold my two camera bodies, 3 or 4 lenses, and a tripod. I have been using the Lowepro Whistler Backpack and have really loved it.
It opens from the back and you can change around the sections based on how much gear you are bringing. There is also an easy way to secure your tripod on the outside and a laptop sleeve that is protected by a waterproof ‘wall’. It also has a rain sleeve and a really supportive waist belt.
A true, all-season and versatile pack, the Whistler BP 450 AW delivers amazing performance for wilderness photographers and adventurers.
Storage
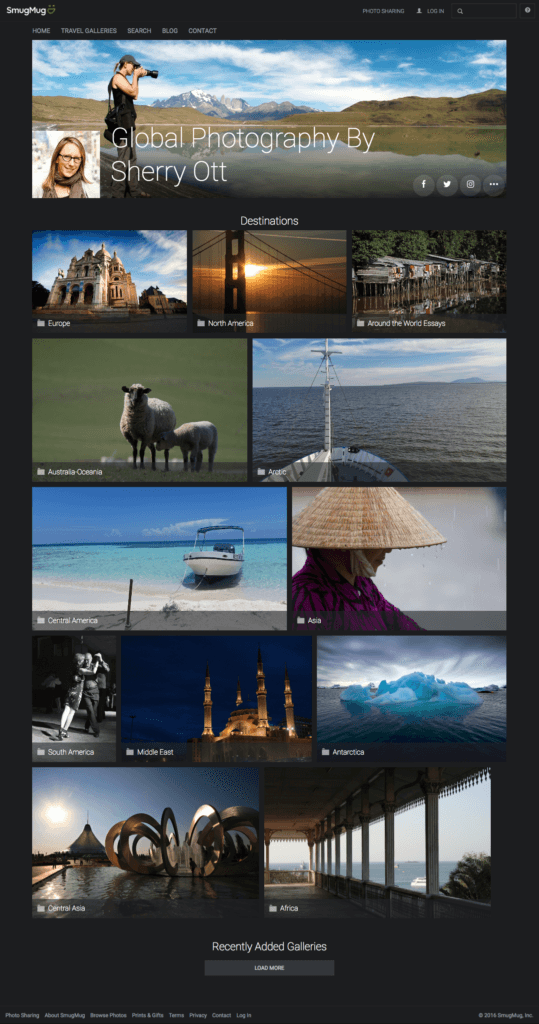
For 13 years, my online solution for photo storage, my photo portfolio, and photography sales have been in Smugmug. Talk about standing the test of time! Annual prices range from $40 for simple annual storage and backup to $250 if you want to be able to sell your photography and set your margins. I actually sell my photography on Smugmug, so I have a Professional Plan.
Just use this link and you can get a 14 day free trial. And you’ll get 15% off if you end up subscribing!
And you read that right, if you are one of these people who have said that you loved my photography and want to purchase some – I’m happy to help you curate a purchase. After all I have thousands of photos on my Smugmug site – and I can help you navigate through and find the image(s) you are looking for to put something together that is great for your home – like this gallery of laundry photos around the world is perfect for your laundry room!
External Storage and Backup Drives
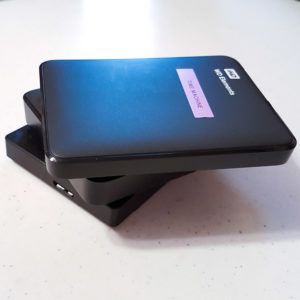
Since I don’t have a home where I can store a proper backup external drive, I have to use a different solution. I choose to simply store my photos on WD Elements 2TB external drives. I used to get more expensive heavy-duty drives – but I find that these work just fine and take up less space. I carry about 2 or 3 of them on a given trip – so it’s bulky, and space is always an issue. I use them to store and access my initial photo library ad to back up my library. I leave a few backups at friends’ and at my storage unit to reduce my risk in case of theft. As noted above, I also use my Smugmug account as a place for online backup, as well as Dropbox and Google Photos.
Extras – Don’t forget these essential items!
SD Cards
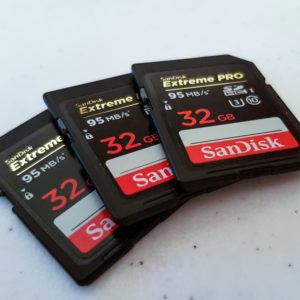
Extreme Pro SanDisk 32Gig – super fast for the newer cameras. Even though I know they make bigger cards, I only carry 32 gig cards as it forces me to remove them and transfer my photos more often and reduces my risk of losing everything (if all of my images were on one giant card) if my camera body gets stolen.
LensCoat Raincoat

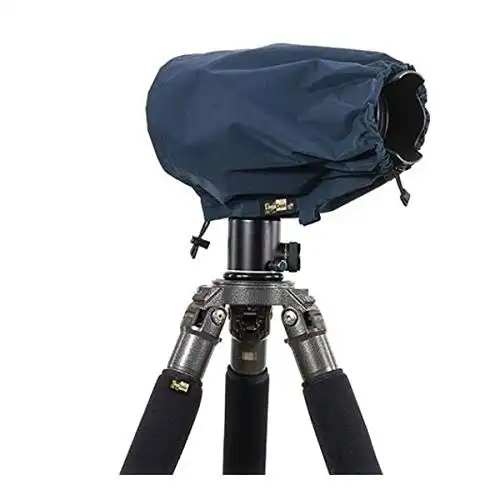
Lose the plastic bags and get a proper rain solution for your expensive camera gear. I use a LensCoat Raincoat to keep my DSLR camera dry. It’s lightweight and easily stuffs into my camera bag, and the design ensures that you can easily get to all of the controls while keeping your gear dry. Throw away the plastic bags and get this!
Lens Protection
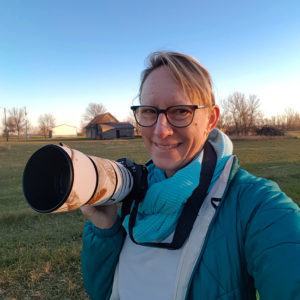
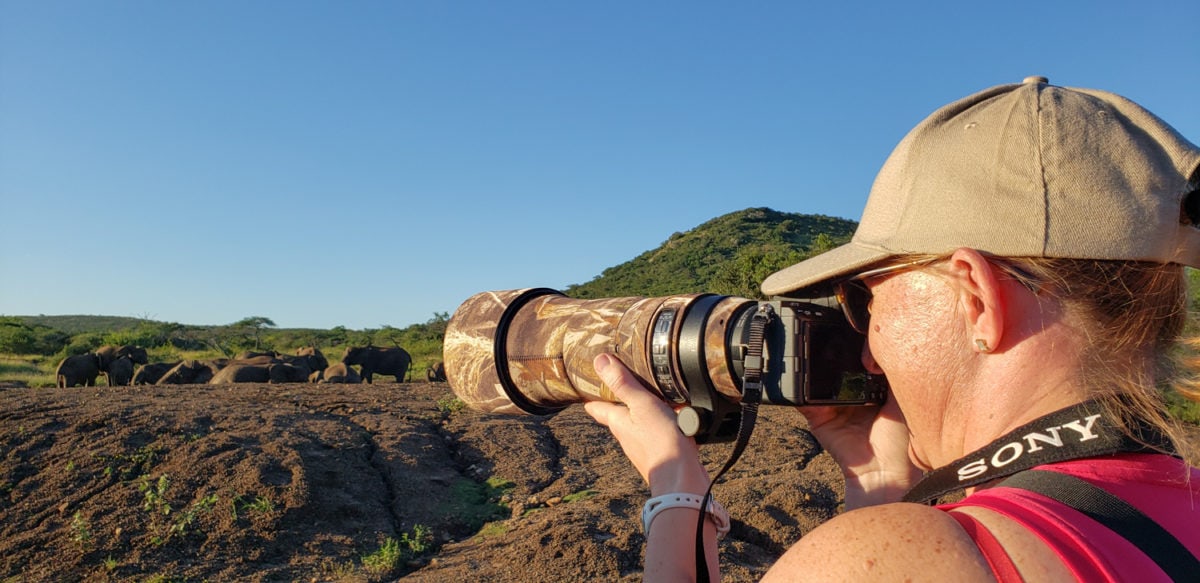
This is a super way to protect your lenses from scrapes and the elements and provide them with better resale value…plus…they are just damn fun. A LensCoat LensCover is like a wetsuit for your camera lenses. Dress up your boring drab lens with a Neopreen LensCover.
Yes – these are meant for wildlife photographers, however the covers come in all sizes and various prints and colors. Decide to stand out or try to blend in whatever you want. I use one on my long 300mm lens (pictured)as well as my Sigma 150-600mm. I love them! They also make lens pouches, battery pouches, and other great wildlife photography gear!
LensCoat® lens covers offers your valuable equipment some protection from scrapes and bumps, preserving its resale value. It also help break up the shape of your lens, making it less noticeable to wildlife.
Rocket Blaster
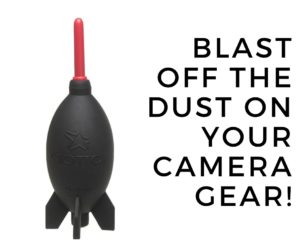
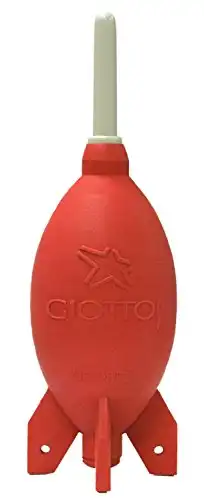
Not only does it look cute, but a Rocket Blaster one of the most important things in my camera bag when I travel. Ever found yourself in a dessert sand storm, dusty field, or wind storm while trying to change lenses? Keep your camera sensor clean safely by using this simple air blaster. Plus, it’s small and ‘squishable’ so it easily fits into your camera bag!
Cotton Carrier
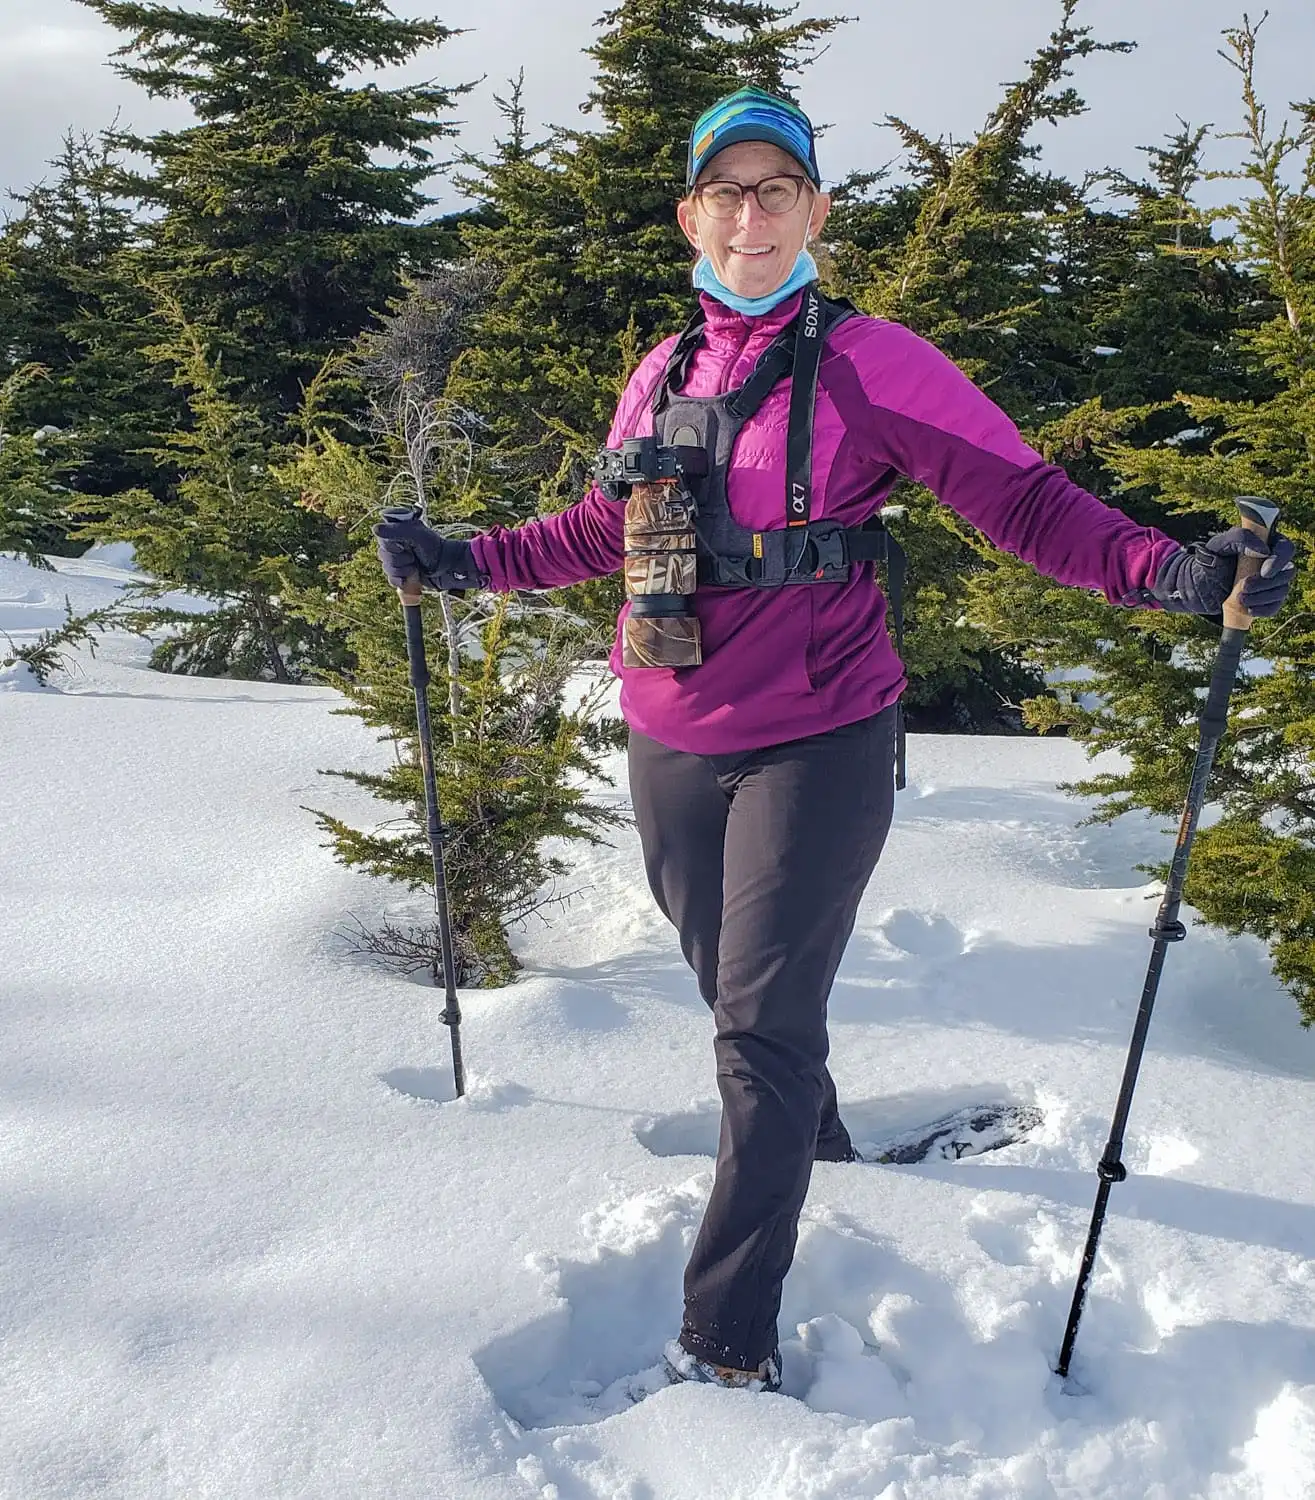
This is probably my favorite new piece of photography gear. I adore this way of carrying my camera hands-free for hiking and just walking around. It’s easy to quickly pull out of the chest lock and use the camera in one smooth motion. But the best part is that the harness disperses the weight properly instead of only around your neck. My back is so much happier when I use my Cotton Carrier! All straps are adjustable. This is a must for any outdoor photographer; I use it hiking all the time. It also comes with a little rain cover.
I don't go on a trip without this harness! It allows me to be hands free when hiking and snowshoeing. I've also used it while horseback riding. It has saved my neck and back and it a secure, healthy way to carry my camera!
10% off coupon code for readers - OTTSWORLD
There are still a few things on my list that I need to get post-camera changes – like filters. However, I’ve been slowly building back up my arsenal! If you have any questions about my gear or if you have the gear you love, feel free to share it in the comments below!

By Mike Eaden November 23, 2016 - 6:58 am
I had a photography teacher tell me once “You can be a part of the event or you can photograph it. You can’t do both.”
I appreciate your gear recommendations and the reasons for upping your game. (It helps pay the travel bills…)
For the casual traveler though I think all that gear gets in the way of the experience. I’ve been on too many trips where my fellow travelers are busy fiddling with lenses and accessories…and they usually end up standing behind me shooting the same photo I am with my PHD (push here dummy) camera.
I use my camera as a travel diary to remind me later of the cool things I have seen and experienced. I never look at my photos on a trip.
Gear is gear and technology is great but it’s not a window that lets you see the world more clearly.
BTY, I bounce around with a Nikon CoolPix AW130. Small, light, waterproof. Travel diary…
By Sherry November 24, 2016 - 12:17 am
I totally understand what you are saying – and each person has different things that make them happy or give them that ‘rush’ when they travel. For me photography is part of that – it always has been. I love to capture a moment so that I can have it forever…not sure why…it just makes me happy. I see through the lens. You make a good distinction though – it might be too much for the ‘casual traveler’ – all this gear isn’t for everyone. But it’s what works for me and for some reason I get people asking me gear questions a lot!
Keep that point and shoot going!
By Coco November 24, 2016 - 12:00 am
I enjoyed reading what you take and how you pack it all in. I appreciate the links, too. I’m certainly not at your level of travel or photography, and it’s nice to know why you made your choices to inform my thinking.
I be recently become acquainted with an ‘old school’ master photographer and I take both your opinion and his as equally informative. Your photos and his both take me there – I feel part of the time and place. Thank you for your gift!
By Sherry November 24, 2016 - 12:18 am
Thanks for the kind words! And good luck with your photography!
By Online Flight Booking November 24, 2016 - 2:03 am
good post,External storage and backup is necessary for the device,i find your article useful for me,thank you for sharing it.
By Mike Eaden November 24, 2016 - 8:07 am
There’s no like button so… “Like”
By service apartment in malays November 28, 2016 - 2:54 am
Amazing post,thanks for sharing your thoughts,your blog have informative information.
By Leigh | Campfires & Concierges December 1, 2016 - 4:28 pm
Great list – I think my next investment has to be a wide angle lens.
I know it’s a travel blog, but if you’re ever interested in doing a post on your photography post-processsing workflow, I’d love to see how it’s done, especially on the road!
By Sherry December 1, 2016 - 4:59 pm
Ohhh – workflow…that’s always a joy. It probably would be interesting to people I suppose. I’ll see what I can do next year for a post on that. It’s funny as it’s just work to me and I never really think of anyone wanting to know how I do it! Plus – I’m not expert – I’ve just found some systems that work for me while constantly moving. Thanks for the suggestion! And yes – get yourself a wide angle…you’ll wonder how you went so long without one!
By Kirsten October 1, 2017 - 11:25 am
Great list, Sherry! Thanks for sharing!