Learn to curl in Canada – the perfect cultural experience!
We’ve all seen it during the winter Olympics – the strange and foreign sport of curling. Every 4 years I have the same reaction, “What?! This is an Olympic sport? What next, will they allow shuffleboard into the summer Olympics?”
Yet secretly, much like badminton and ping-pong in the summer Olympics, curling intrigued me.
When I decided to go to Alberta and try new things this winter, curling was of course on my list. However, when I mentioned that I wanted to try it to the tourism folks, they seemed a bit befuddled about it – it was not a normal request. Canadians just take curling for granted, but I have to believe that there are many more people like me out there that watch the sport and are intrigued. So I must preface this with, learning to curl is not a typical tourist offering, but it’s certainly possible to find locals in Canmore who will be more than happy to teach you how to.
Meet Hugh – our Canadian curling coach for the day.
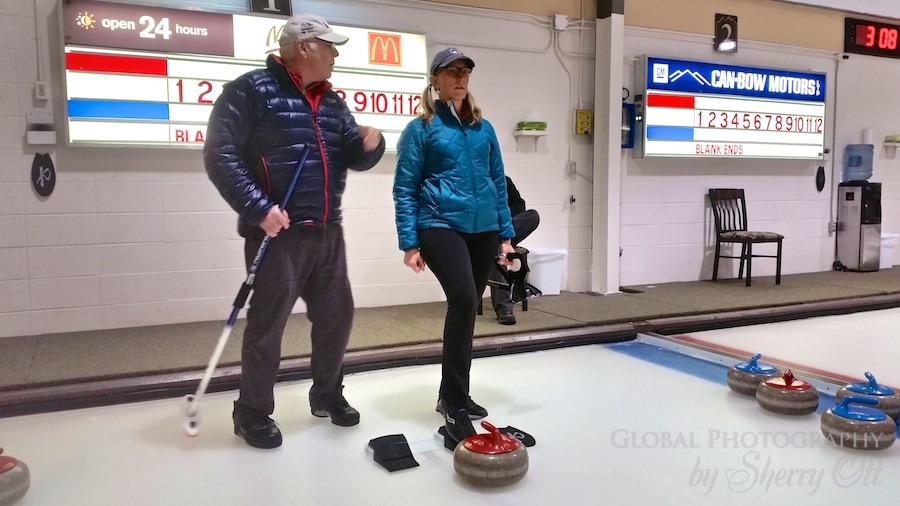
Hugh giving me instruction…
We met at the Canmore Curling Club, which also masquerades as the Canmore golf club in warmer months. The venue was built for the 1988 Olympics as a athletes village. Hugh was a retired schoolteacher and avid curler. This basically meant that he was perfect – he had the patience to teach a group of newbie Americans and he had the skills. The first thing we learned is that curling is really serious business and it has a whole new set of vocabulary to learn.
A man walked through the viewing area, a space that looked like a little lounge bar and had a big glass wall window that looked out on the curling sheets (or lanes to the curling layman). “That’s the Iceman, “ Hugh said as he nodded towards the serious looking man. As much as I was hoping it might be Val Kilmer ready to play a little sand volleyball, I learned that the ‘Iceman’ was really just the ice man – the guy who maintains the ice at the club. There’s more to maintaining good ice that you’d ever imagine and no there isn’t a Zamboni that comes out between games and drives around. In fact, the curling ice needs to be properly pebbled. It’s not actually smooth, instead it has little pebbles of ice that are flattened out and create air under the stone – making it curl. Think of it like an orange peel, and the stone moves on top of the pebbled ice which has to be at the perfect temperature – normally 23 °F.
Table of Contents
Curling Basics and Terminology
Our first lesson was how to clean our shoes. As I said, the ice is important and you can’t be dragging any old crud out there on the ice ruining what the ice man has so carefully created. So there is an elaborate process of sole cleaning before you even set foot on the curling sheets. We simply wore our tennis shoes, but real curlers, like Hugh, wear curling shoes. As much as I think curling shoes should look like little elf shoes with a curl and bell at the end, curling shoes are just regular sneakers with special soles; one super slick sole for sliding on the ice and one regular sole.
Next Hugh had us simply walk on the ice to get used to it. Thanks to the pebbled ice it actually had a bit more grip than what I was expecting. We walked the length of the sheet as he explained the positions in a team, the markings on the sheet, and the other relevant terminology. We learned that the target at each end of the sheet was called a house and the goal was to place the curling stones in the house. I muffled a little laugh as I realized that this was the one time when you wanted to throw stones in houses. The most surprising curling fact though that made us all gasp – a set of 16 curling stones (made of 40 pounds of granite each from Scotland ) cost $7,000 to $15,000 – as much as my first car.
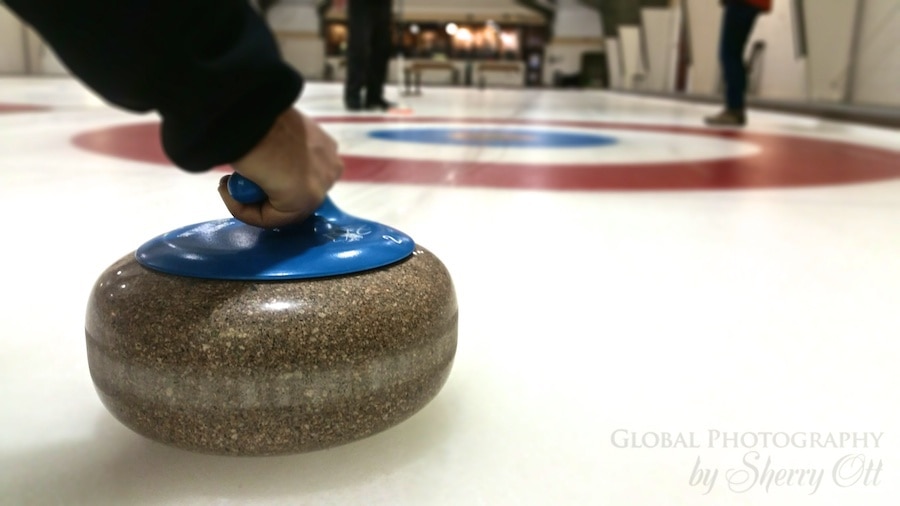
The 40 lb curling stone
Hugh also tried to explain all of the strategy and scoring rules, however I knew I could only consume so much new stuff at once – so I decided to forget about the complicated world of scoring and focus on learning to curl instead!
As Easy as 1-2-3-4-5
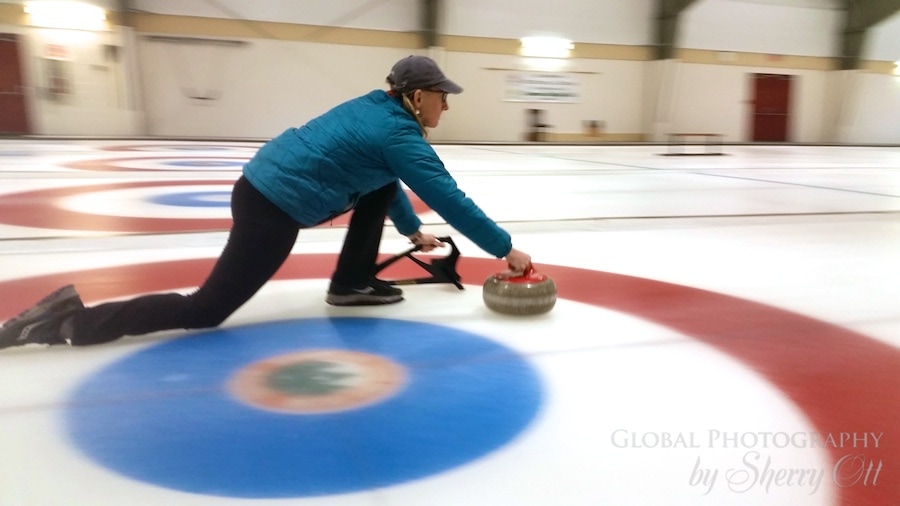
Now it was time to get to it, Hugh’s 5 point stance. Hugh had a great way of breaking down the motion of curling and pushing off into 5 steps so that you would have the right form. You started in little blocks that you pushed off of like in a track sprint race. And you got the beautiful curling glide by using a little slider footpad under your dominant foot, while letting your other leg drag in back. As he demonstrated, it all looked so easy and fluid. Then I tried it.
My first attempt was pathetic – I pushed off, cracked my knee on the hard ice, wobbled for 2 feet and fell over! I realized right away that my newly adopted yoga regimen would come in handy for curling – the hip flexers really do get used along with the core in this sport. So my first thing I learned was that this is not as easy as it looks. After about 30 more minutes of doing iterations of the 5 point stance and process, I was gliding 5 to 10 feet and using my pointed toe that remained on the ice as a rudder of sorts – directing me to where the Skip (captain Hugh) was telling me to go.
Letting Go
After getting the hang of the push off with a stone in hand, then we had to learn to let go, which was a whole new balancing challenge again! It was sort of like removing the training wheels from a bike, wobbly at first, but pretty quickly your body starts to figure it out. After a number of attempts I was getting it, pushing off, gliding, and lightly letting go.
Video: Learning the 5 step stance
However, my stones were not seeming to make it very far on the ice until halfway through the lesson Hugh informed us that typically if a stone doesn’t make it past the far hogline (blue in front of the ‘house’), the curler had to buy everyone a round of beers. Now it just got serious. Needless to say, we owed Hugh a lot of beer. But after that comment Michael and I never had one stop before the hog line again!
Next we moved on to where the sport gets its name – curling the stone. Hugh explained the physics behind the controlling the rotations of the stones; give the stone a clockwise rotation as it is released, it curls to the right, while an anti clockwise rotating stone will curl to the left. However to put it in real terms I could remember, he just instructed us to either do an inside or outside rotation when we released the stone. Once again this was all about finesse – and it took a while to get the hang of just how much turn you gave it when released. If you really want to geek out and get all scientific about it then read up about the physics of curling – it’s fascinating in a geeky way.
Sweeping Was Never so Much Fun
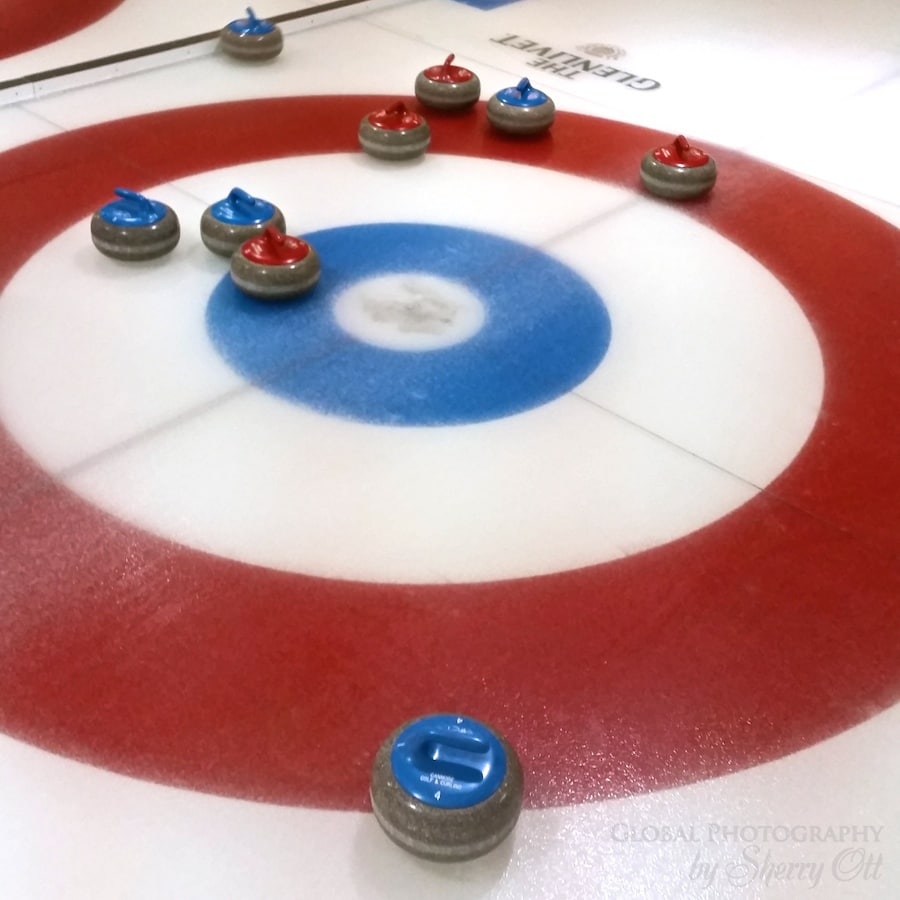
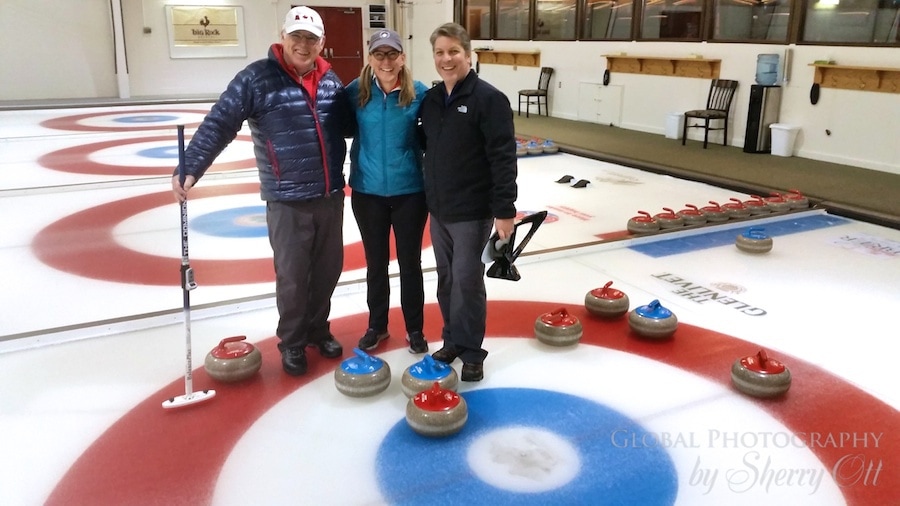
Stones in the house!
As an observer of curling once every 4 years, I must admit that the sweeping part is always what confused me most. First, of you don’t actually use a broom when sweeping, it’s more of a padded surface at the end of a stick – sort of like an dry board eraser. Second, ‘what the hell are they doing and why’ is the thought that normally came to mind when I watched curling. Put on your science thinking caps again – Hugh explained that the sweeping is actually a sway to speed up and direct the stone. The frenzied sweeping with the little ‘brooms’ helps reduce friction even further, slightly heating that segment of the ice very briefly before it refreezes. The stone curls more if you leave it alone. The point of the sweeping is to make the stone curl less and travel further. How much or how little you sweep depends on where you want to the stone to end up.
Michael and I got our brooms and tried it for the first time, nearly falling as we tried to keep up with the stone that seems to sail down the ice much faster than we could run/slide down it. Plus, it didn’t help that we were doubled over in laughter. The 2nd time we swept, we were able to keep up with the stone better and stayed out in front of the stone without burning it (touching it) sweeping away wildly. By no skill of our own, the stone actually did hit another stone and move it out of the middle with made us erupt in excitement. “Where would have it went if we hadn’t been sweeping?” Michael asked Hugh.
“Probably the same place,” Hugh responded dryly and deflating our hard but apparently misguided sweeping. Once again proving that it’s harder than it looks.
The Important Stuff – Beer
Like any good recreational sport, beer is involved. After a couple of hours of Hugh trying to teach us how to curl, it was time for a break. We had come a long, long way in two hours. I went from falling over to actually having a bit of control and precision when throwing the stone. Plus, I learned about the strategy of the game. And most importantly I learned that I absolutely loved throwing stones in houses – ahem – curling. We had been erupting in laughter for the last few hours reminding me just how fun it is to learn new things. After 8+ years of traveling full time, travel is not about the sights any longer, it’s about the experiences and people you meet, the things you learn, and understanding cultures different than my own. This experience of learning how to curl for the first time ticked off all of those boxes – plus it ended in beer and adding a new friend, Hugh, to my big list of ‘friends around the world’. I had just a small taste of the Canadian curling culture, but I knew it wouldn’t be my last. After all – maybe it wasn’t too late to make the Olympic team – you may find me in Korea in 2018! Or more likely, you’ll just find me in front of the TV educating all of the ‘why is curling in the Olympics?’ naysayers around me on just how hard and strategic it is to throw stones in houses.
Hugh, me, Michael, & Michaela (our camerawoman!) definitely earned our beer
Disclosure: I was a guest of Travel Alberta during my time in Canmore, however all opinions are my own.


By Dalene May 12, 2015 - 10:46 am
Seriously so impressed with your form. Next time we go home in winter, we’re taking you with us to find a bonspiel to compete in!
By Barbara Weibel May 12, 2015 - 12:25 pm
How cool! I love delving into culture like this.
By Shanon May 12, 2015 - 12:36 pm
Great post. I thought the same as you…I never really understood curling and especially the sweeping part. I found it very interesting. Thanks for posting.
By Laura @Travelocafe May 13, 2015 - 4:57 am
Great read, funny title. It works.
By Corinne May 16, 2015 - 9:08 am
I am totally like you in that I’ve always wanted to try curling…why is it so hard? I’m glad you got the chance.
By De'Jav May 16, 2015 - 8:02 pm
That’s pretty cool something most people don’t really think about doing. Sounds like it was a good time.
By Mary @ Green Global Travel May 19, 2015 - 12:11 pm
This is such a great post! Curling has always seemed such a mystifying sport – how cool that you got to participate 🙂
By dinner cruise May 23, 2015 - 10:59 am
I don’t even know the way I ended up here, however I thought this
publish used to be great. I don’t know who you are but certainly you’re going to a famous
blogger when you aren’t already. Cheers!